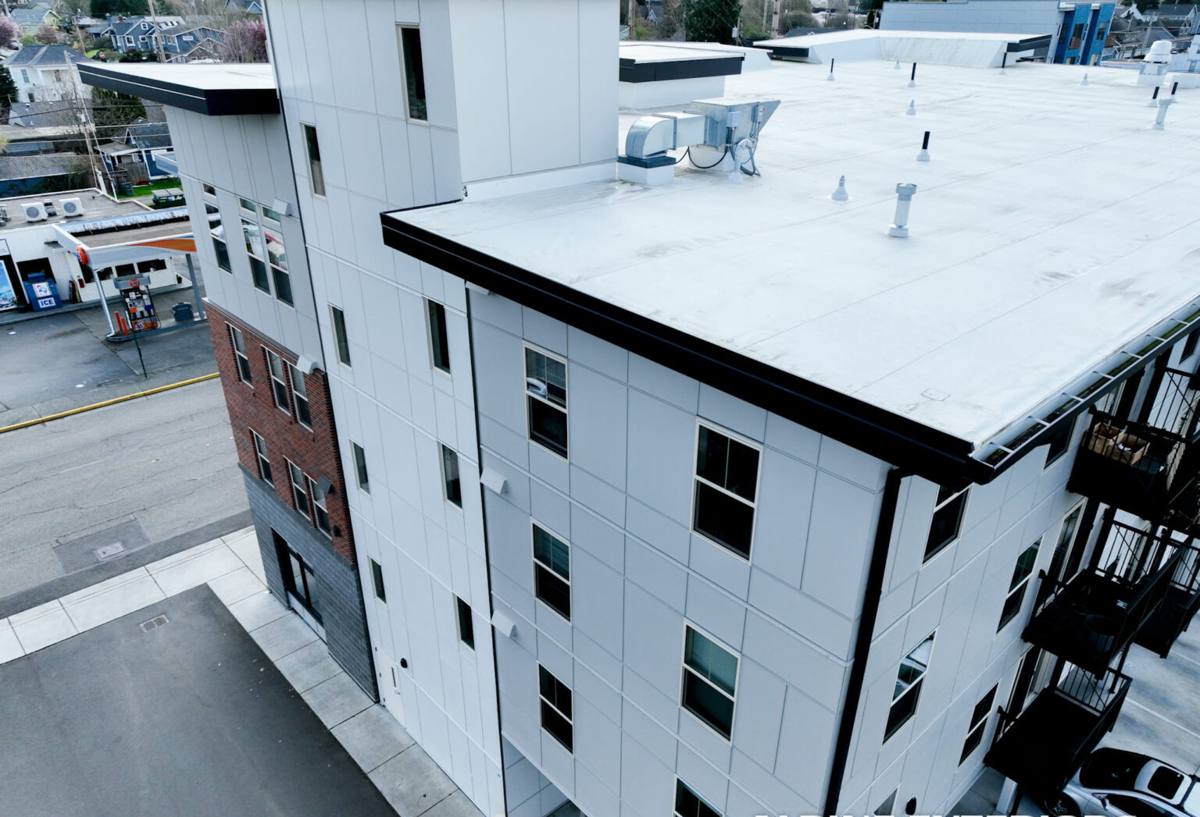
 Chuckanut Exterior
 Why New-Construction Windows Are a Different Job
New-construction windows aren't the same product or the same install as a replacement window. A replacement (or "pocket") window is built to slide into an existing frame with the old exterior trim staying in place. A new-construction window has a nailing flange around the entire perimeter, and it gets set into open framing before the weather-resistive barrier and siding go on. That flange is what ties the window into the rest of the building's water management system, and it only gets one chance to be done right, because once the siding goes up, nobody sees that connection again until something goes wrong.
For homes being built or added onto in Edison and along the Chuckanut Drive corridor, that first-chance installation matters more than in a lot of places. This stretch of Whatcom County deals with salt-laden marine air, wind-driven rain off the water, and a long stretch of the year where north- and west-facing surfaces stay damp enough to grow moss. A window opening that's flashed correctly shrugs all of that off for decades. One that isn't will eventually show up as soft trim, stained sheathing, or a musty smell in a wall cavity, usually years after the crew that installed it is long gone.
What Edison's Climate Does to Windows and Framing Over Time
We don't sell fear, we just build for what actually happens here. Three things define how a window opening should be built in this part of Whatcom County.
Salt Air and Corrosion
Proximity to Chuckanut Bay and the greater Puget Sound means airborne salt reaches further inland than most homeowners expect, especially on exposed or elevated lots. Salt air accelerates corrosion on unprotected steel fasteners, low-grade aluminum trim, and hardware that isn't rated for coastal exposure. It's a slow process, which is exactly why it's easy to overlook during construction — the damage shows up as rust streaks and pitted hardware years down the road, not on move-in day.
Driving Rain and Wind-Driven Water
Storms coming off the water don't just fall straight down — they push rain sideways into wall assemblies, particularly on west- and southwest-facing elevations. A window that relies mainly on caulk and good intentions to keep water out will eventually fail under that kind of pressure. Correct sill pan flashing and a properly lapped weather-resistive barrier are what actually stop wind-driven rain; sealant is a backup, not the primary defense.
Moss Season and Trapped Moisture
Shaded, north-facing walls and anything under tree cover stay damp for a large part of the year, which is exactly the environment moss and mildew need. On windows, that means sills and lower trim that don't shed water fast enough hold moisture against wood longer than they should, and moss taking hold on horizontal surfaces keeps that moisture in contact with the building even longer. Sloped sills, proper drip caps, and cladding choices that don't feed mildew all matter more here than in a drier climate.
Choosing a Frame Material That Holds Up Here
There's no single "best" window material for every project — it depends on budget, the look of the home, and how exposed the elevation is. For new construction in a salt-air, high-rain environment, here's how the common options compare.
| Frame Material | Salt Air / Corrosion Resistance | Moisture Tolerance | Maintenance |
|---|---|---|---|
| Vinyl | Very good — won't rust or pit | Good, with proper drainage weeps | Low — occasional cleaning |
| Fiberglass | Excellent — dimensionally stable, inert to salt | Excellent | Low |
| Aluminum-Clad Wood | Good if cladding and fasteners are marine-rated | Good exterior, wood interior needs protection | Moderate — cladding seams need attention over time |
| Composite | Very good | Very good | Low to moderate |
We steer clients away from bare or lightly-finished wood exteriors and standard-grade aluminum trim on exposed coastal elevations — not because the material is bad in general, but because the maintenance burden and corrosion risk in this specific climate outweigh the upfront savings. If a homeowner wants the look of wood, aluminum-clad or fiberglass options that mimic that appearance without the coastal maintenance headache are usually the better call.
Flashing and Water Management — Where Leaks Actually Start
Almost every window leak we've traced back to its source turns out to be a flashing or sequencing problem, not a bad window. Getting this part right is most of what separates a correctly installed new-construction window from one that will cause problems eventually.
Sill Pans First
Before the window ever goes into the opening, the rough sill needs a sloped, corner-dammed pan that directs any water that gets past the window straight back outside — not down into the wall cavity or subfloor. Skipping this step and relying on caulk alone is one of the most common shortcuts we see on older builds in this area, and it's the first thing that fails under sustained wind-driven rain.
The Shingle-Lap Sequence
Every layer around the window — sill pan, side flashing, the window's nailing flange, head flashing, and the weather-resistive barrier — has to overlap the one below it like shingles on a roof, so water always drains outward and down, never inward. Get the order wrong, even by one layer, and you've built a funnel instead of a barrier. This is a sequencing discipline as much as a materials question, and it's where an experienced crew earns its keep.
Our New-Construction Window Installation Process
The steps don't change much project to project, but the discipline in following them in order is what determines whether the install performs for thirty years or ten.
- Verify rough openings against the manufacturer's specified dimensions before the window ever arrives on site — a tight or oversized opening causes problems that show up later as air leaks or operational issues.
- Install sloped sill pan flashing with end dams before the window is set.
- Dry-fit the window, then set it plumb, level, and square, checking the reveal on all four sides before fastening.
- Fasten through the nailing flange per the manufacturer's schedule — over-driven or under-driven fasteners are a common cause of frame distortion and operational problems down the road.
- Integrate side and head flashing with the weather-resistive barrier in the correct shingle-lap order, using flashing tape rated for the material it's bonding to.
- Seal the interior air gap between the frame and rough opening with low-expansion foam or backer rod and sealant — this is the air seal, separate from the exterior water management layer.
- Protect the opening through the rest of construction, since a finished window can still be damaged or compromised by later trades if it isn't flagged and covered appropriately.
Energy Performance for a Marine West Coast Climate
Whatcom County's climate is mild compared to most of the country, but it's also consistently damp, which changes what matters in a window's performance ratings. U-factor — how well the window resists heat transfer — still affects comfort and heating costs through our cool, wet winters. Solar heat gain coefficient matters less here than in sunnier regions, but it's still worth considering on south- and west-facing glazing where summer heat gain can be noticeable. Condensation resistance is arguably more relevant in this climate than in drier ones — a window with poor condensation resistance will show it on cold, damp mornings well before it shows up in an energy bill.
For most new construction in this area, we recommend double-pane, low-E, argon-filled units that meet ENERGY STAR's Northern Climate Zone criteria as a practical baseline, with triple-pane worth discussing for exposed or west-facing walls where wind and driving rain hit hardest.
Coordinating Windows With Siding, Trim, and the Rest of the Building Envelope
On a lot of new-construction jobs, the window sub sets the units and moves on, and a different crew handles the weather-resistive barrier and siding weeks later. Every handoff between trades is a chance for the flashing sequence to get interrupted or misunderstood. Because we handle both window installation and siding work, we can carry the water management plan through from the rough opening to the finished siding without a gap in accountability — and without guessing what the last crew meant to do.
That matters for warranty purposes too. If a leak shows up two years after move-in, a homeowner shouldn't have to figure out whether it was the window installer's flashing or the siding crew's WRB lap that failed. One crew responsible for both means one call gets it looked at and fixed.
New-Construction Window Installation Checklist
Whether you're a homeowner working with a builder or a builder bringing in a window sub, these are the things worth confirming before the siding goes on and the opening disappears from view for good.
- Rough opening dimensions verified against manufacturer specs before the window arrived
- Sloped sill pan flashing installed with corner end dams
- Window set plumb, level, and square with consistent reveal on all sides
- Fasteners rated for coastal and marine exposure, driven per the manufacturer's schedule
- Flashing installed in correct shingle-lap order with the weather-resistive barrier
- Interior air seal completed separately from the exterior water management layer
- Frame material and hardware appropriate for salt-air exposure on that elevation
- Photos taken of flashing and sill pan work before it's covered by siding, for future reference
Why an Edison-Based Crew Makes a Difference
Window installation instructions read the same everywhere in the country, but how much margin for error you build into a job should change based on what the building actually has to withstand. A crew that works Edison and the Chuckanut area regularly already knows which elevations catch the worst of the driving rain, which lots hold onto shade and moisture long enough to grow moss, and which fastener and flashing tape combinations actually hold up against salt air instead of just looking fine on installation day. That's not something you get from a manufacturer's install manual — it comes from doing the work in this specific stretch of Whatcom County, season after season, and going back to check on it.
Being local also means we're close by if a warranty question comes up, without a homeowner waiting on a crew that has to drive in from somewhere else. If you're planning new construction or an addition in Edison and want windows installed by a crew that treats the flashing and water management as seriously as the windows themselves, we're happy to walk the plans with you and put together a free, no-pressure estimate — just fill out the form below.