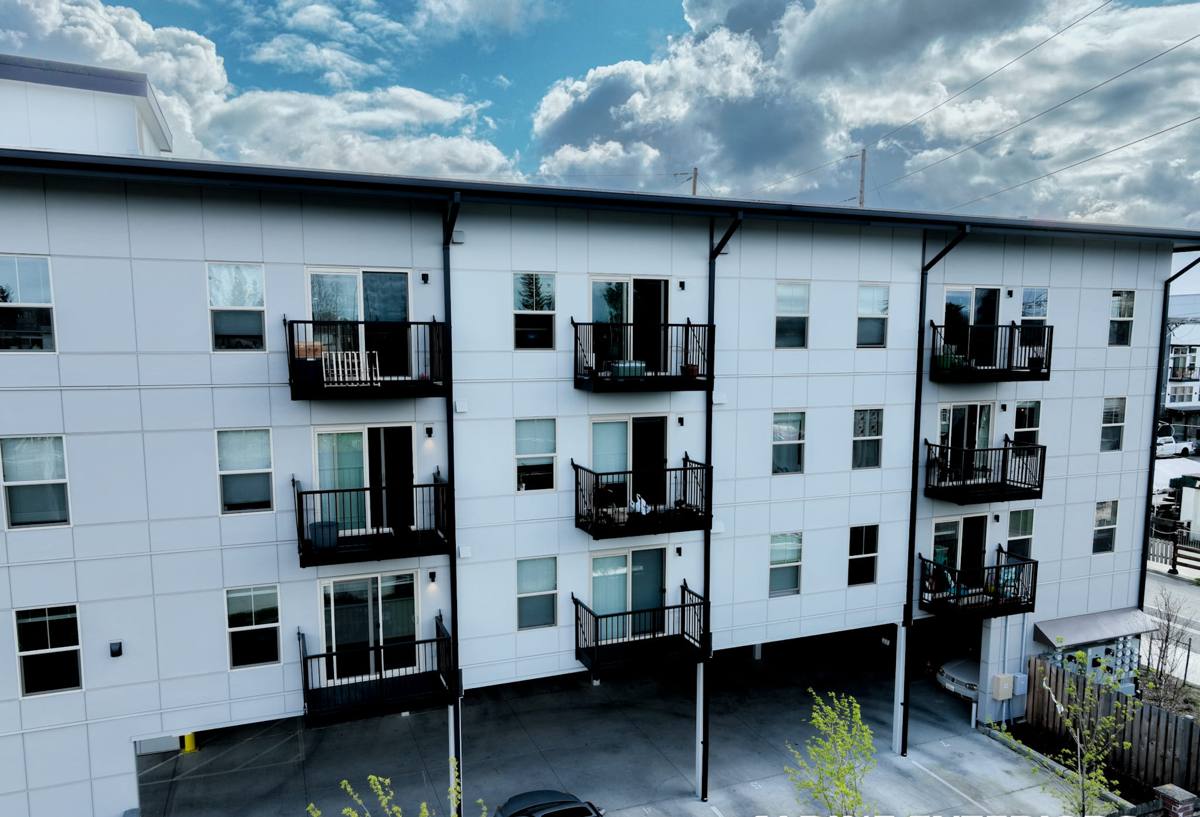
 Chuckanut Exterior
 New-Construction Windows in Sehome: Built for This Climate From the Start
Sehome sits close enough to Bellingham Bay that salt-laden air, wind-driven rain, and a long stretch of gray, damp months are just part of owning a home here. When a house is being framed and the window openings are still raw, that's the one chance to get the water management right before siding, trim, and drywall close everything up. New-construction window work isn't just "install the window" — it's building a system of flashing, membranes, and sealants that has to work together for decades, not just look finished on install day.
We install new-construction windows for builders and homeowners in Sehome and the surrounding Chuckanut and Whatcom County area, and we treat the rough opening prep with the same seriousness as the window itself. A window is only as good as the opening it sits in.
Why New Construction Is a Different Job Than Replacement
Replacement window work has to fit inside an existing wall, often reusing the old frame or a retrofit flange, because the siding and interior finishes are already in place. New-construction windows are the opposite: the wall is open, so the window's nailing fin gets integrated directly into the water-resistive barrier (WRB) and flashing system before anything else goes on. That's an advantage — it lets us build a fully lapped, gravity-fed drainage path with no shortcuts — but only if it's done in the right order.
Get the sequencing wrong on a new build, and you don't find out until years later when water has already tracked behind the siding. That's a much bigger and more expensive fix than replacing a single failed unit, which is exactly why the framing-stage work deserves real attention rather than being rushed to keep a build schedule moving.
What Correct Installation Involves
Flashing the Rough Opening
Before a window ever goes into the opening, the sill needs a sloped or pan flashing that sheds water outward, not into the framing. Side and head flashing then integrate with the WRB in strict shingle-lap order — sill first, then jambs, then head — so water is always directed down and out, never trapped behind a layer above it. In a climate with as much driving rain as Whatcom County sees, this layering is the difference between a window that stays dry for 30 years and one that quietly rots the framing around it.
Setting the Window and Fastening the Nailing Fin
The window gets shimmed level, plumb, and square in the opening, checked for equal reveal and smooth sash operation before a single fastener goes permanent. The nailing fin is then fastened per the manufacturer's schedule — skipping fasteners or over-driving them are both common ways installers unintentionally void the window's warranty or distort the frame.
Sealing and Integrating the WRB
Once the fin is fastened, flashing tape laps over it and ties back into the housewrap, and a bead of compatible sealant closes the remaining gaps — compatible being the key word, since some sealants and tapes don't bond well to certain WRBs or vinyl frames. The interior side gets a modest bead of low-expansion foam or backer rod and sealant, never a solid pack of high-expansion foam, which can bow the frame and cause the window to bind.
Insulating and Trimming
The gap between frame and rough opening is insulated for both thermal performance and to cut down on condensation at the frame edge — a real issue during Whatcom County's cool, wet winters when interior humidity meets a cold frame. Interior and exterior trim close out the look, but only after the water management layers underneath are already doing their job.
Choosing Windows for Salt Air, Rain, and Moss Season
Not every window product handles this climate the same way. We talk through trade-offs honestly rather than pushing whatever's easiest to install.
| Frame Material | How It Handles This Climate | Maintenance |
|---|---|---|
| Vinyl | Good moisture and salt-air resistance, no painting needed, solid value | Low — occasional cleaning |
| Fiberglass | Very stable in temperature swings, strong resistance to moisture-driven warping | Low |
| Wood-clad | Warm interior look, but the exterior cladding and seals need to be watched closely in a wet, salt-air climate | Moderate to higher — watch cladding seams and finish |
| Aluminum | Strong and slim sightlines, but conducts cold and is prone to condensation without a thermal break | Low, but condensation management matters |
For most new construction in Sehome, we lean toward vinyl or fiberglass frames with a good thermal break and factory-applied finish, since they shrug off salt air and repeated wet-dry cycles without the ongoing upkeep that wood-clad units ask for. Wood-clad can still be the right call for a specific design goal — we just make sure the client understands the maintenance commitment going in.
Glass Packages Worth Considering
Double-pane, low-E glass is the baseline we'd recommend for this area — it cuts heat loss during the cold, wet months and reduces glare and UV fading the rest of the year. Argon-filled units add a modest efficiency bump. Triple-pane is worth discussing for north-facing rooms or homes closer to the water where wind exposure is higher, but it adds cost and weight that isn't always justified on every elevation.
How We Work With Builders and Homeowners on New Construction
1. Plan Review and Product Selection
We look at the window schedule and elevations early, flag any openings that need special flashing details (bay windows, large sliders, openings near roof-wall intersections), and help finalize frame material, glass package, and sizes before ordering.
2. Coordinating the Install Window
Windows go in after the WRB is up and before siding starts — timing that has to be coordinated with the framer and siding crew so nobody's waiting on us and we're not rushed into skipping a flashing step to keep the schedule.
3. Installation and Documentation
Every opening is flashed, set, and sealed following the sequence above. We photograph flashing details before they're covered by siding, so there's a record of the water management layer for the homeowner or builder's files.
4. Final Check
Once siding and trim are complete, we do a final pass checking operation, seals, and reveals on every unit before calling the job done.
Mistakes We See on New Builds Near Chuckanut
A lot of the water problems we get called to diagnose on newer homes trace back to a handful of avoidable errors during the original window install. Before drywall or siding closes things up, it's worth confirming:
- Sill flashing is sloped or pan-formed outward, not flat or reverse-sloped
- Flashing tape and housewrap are lapped in proper shingle order — sill, then jambs, then head
- Nailing fin fasteners follow the manufacturer's spacing, with none skipped at corners
- No high-expansion foam was used to seal the interior gap around the frame
- Sealants and tapes used are actually compatible with the specific WRB and frame material
- Rough openings are sized correctly — too tight and the frame gets stressed; too loose and shimming can't fully support the unit
- Head flashing extends past the jamb flashing on both sides, not tucked behind it
Any one of these on its own might not cause an immediate problem, but combined with the rainfall and humidity this area sees for a good part of the year, small gaps in the sequence tend to show up as real damage within a few winters.
What New-Construction Windows Cost
Pricing depends on frame material, glass package, unit size and count, and how many openings need custom flashing details — a straightforward rectangular slider costs less to install correctly than a large bay or an odd-shaped opening near a roofline. As a rough guide for planning purposes:
| Factor | Effect on Cost |
|---|---|
| Frame material (vinyl vs. fiberglass vs. wood-clad) | Vinyl is typically the most economical; wood-clad the highest |
| Glass package (double-pane vs. triple-pane, low-E, argon) | Upgraded glass adds cost per unit but improves comfort and efficiency |
| Window size and configuration | Large sliders, bays, and custom shapes cost more to flash and install than standard units |
| Number of openings | Per-unit cost typically drops somewhat as total window count increases |
| Site conditions | Wind exposure or proximity to the water can call for extra flashing detail and higher-spec sealants |
We'll always give a written, itemized quote before work starts, broken out by unit, so a builder or homeowner can see exactly what's driving the number rather than one lump figure.
Why a Crew That Already Works in Sehome Makes a Difference
Window flashing details that work fine in a drier inland climate aren't always enough here. A crew that regularly installs new-construction windows around Chuckanut and greater Whatcom County has already seen how salt air corrodes the wrong fastener choice, how moss and constant dampness find every gap in a flashing lap, and how driving rain off the bay tests a sill detail that would pass inspection almost anywhere else. That's not something you pick up from a spec sheet — it comes from doing the work in this specific environment, season after season.
Familiarity with local builders, permitting expectations, and typical framing practices in the area also means fewer surprises mid-build and better coordination with the rest of the construction schedule.
Get a Free, No-Pressure Estimate
If you're framing a new home or addition in Sehome and want the window openings done right the first time, we're glad to walk the plans with you, talk through frame and glass options for this climate, and provide a clear, itemized estimate — no pressure, no obligation. Just fill out the form below and we'll follow up to schedule a time.