 Chuckanut Exterior
 Why Siding in the Mount Vernon Area Wears Differently
Homes in the Mount Vernon area sit close enough to the water and the tree line that siding takes on a specific combination of stresses you don't see further inland. Salt-laden air off the Sound accelerates corrosion on fasteners and trim metal. Driving rain, pushed sideways by wind off the water, finds every gap in a butt joint or a caulk line that's past its prime. And the shade from mature trees, combined with our long wet season, keeps north-facing and low walls damp long enough for moss and algae to take hold and stay there. None of this is dramatic on its own, but stacked together over years, it's exactly the kind of slow damage that turns a small repair into a bigger one if it sits unaddressed.
We're not describing a rare or unusual problem — it's the normal wear pattern for this part of Whatcom County. The point of a good repair isn't just to patch what's visible, it's to understand why that section failed in the first place so the fix actually holds.
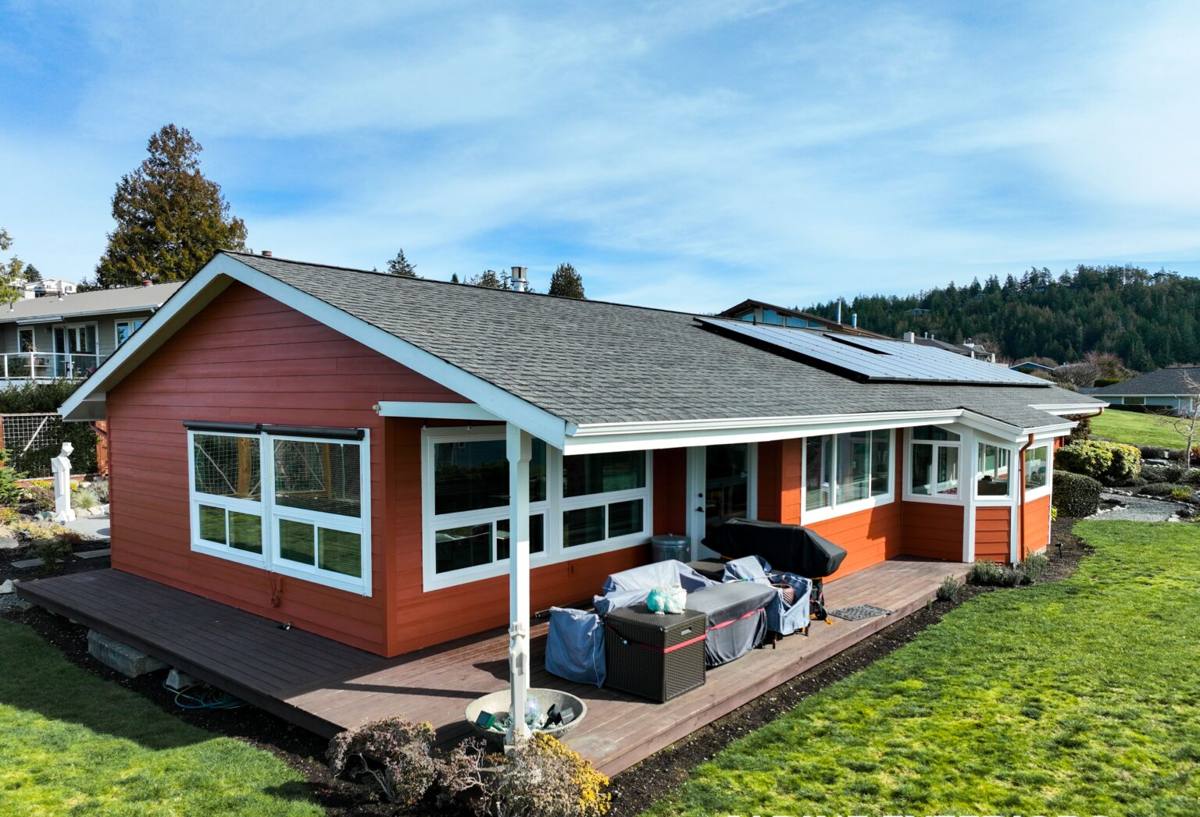
Signs Your Siding Needs Repair Now, Not Later
Most siding problems we get called out for in Mount Vernon didn't start as emergencies. They started small and got ignored because they weren't obviously urgent. Here's what we tell homeowners to watch for:
- Soft or spongy spots when you press on a wall, especially near the bottom courses or under windows
- Visible moss or dark green-black staining that keeps returning after cleaning
- Cracked, bubbled, or peeling paint that keeps failing in the same spots season after season
- Gaps opening up at butt joints, corner boards, or trim where caulk has shrunk or pulled away
- Rust streaking from nail heads or fasteners, especially on walls facing the water
- Warping, bowing, or visible separation from the wall sheathing
- A musty smell or discoloration on interior walls that share an exterior wall with damaged siding
Any one of these on its own might just need attention. Several at once, or any sign of soft sheathing underneath, usually means water has already gotten past the siding and into the wall assembly.
What's Actually Causing the Damage We See
Moisture Intrusion
The majority of siding failures we find locally trace back to water getting behind the siding rather than through it. Failed caulking, missing or damaged flashing at windows and doors, and gaps at penetrations (vents, hose bibs, light fixtures) let rain in even when the siding face looks fine. Once water is behind the cladding, it doesn't dry out quickly in our climate — it sits, and it does its damage from the inside out.
Moss and Organic Growth
Shaded, north-facing walls near mature landscaping stay damp for extended stretches during our long wet season. Moss and algae aren't just cosmetic — they hold moisture against the siding surface and, on products with wood content, accelerate rot underneath the growth.
Salt Air and Fastener Corrosion
Homes closer to the water deal with airborne salt that corrodes lower-grade fasteners and metal trim faster than homes further inland. Corroding nail heads eventually lose their grip, siding starts to loosen, and small gaps open up that let more moisture in — a slow feedback loop that's easy to miss until the siding is visibly moving.
Wind-Driven Rain
Storms coming off the water push rain sideways with enough force to drive it under lapped siding edges and through marginal joints that would never leak in a calm rain. This is why the quality of the original installation — lap spacing, joint treatment, flashing details — matters as much as the siding material itself.
Repair vs. Replacement: How We Make the Call
Not every damaged section needs full replacement, but not every problem should be patched either. We inspect before we quote, and we tell you honestly which category your situation falls into.
| Factor | Repair usually makes sense | Replacement is the smarter call |
|---|---|---|
| Extent of damage | Isolated to one or two wall sections | Spread across multiple elevations |
| Underlying sheathing | Solid, dry to the touch | Soft, delaminated, or visibly rotted |
| Cause of failure | A localized flashing or caulk failure | A systemic installation issue (wrong lap, no water-resistive barrier, etc.) |
| Siding material | James Hardie fiber cement in good remaining condition elsewhere | Aging vinyl, LP SmartSide, or wood approaching end of service life |
| Age of existing siding | Under roughly half its expected service life | Nearing or past its practical lifespan |
When damage is isolated and the sheathing underneath is sound, a targeted repair is the responsible recommendation — we're not going to sell a full re-side when it isn't needed. When we find repeated failure points, soft sheathing, or a material that's simply worn out, we'll say so plainly and explain why.
What a Correct Repair Actually Involves
A repair that's done right addresses the cause of the failure, not just the symptom on the surface. Our process on a typical siding repair includes:
- Removing the damaged siding and inspecting the water-resistive barrier and sheathing underneath
- Checking flashing at any adjacent windows, doors, or penetrations and correcting it if it's the source of the leak
- Replacing any compromised sheathing before new siding goes back on — never covering over damaged material
- Installing new siding matched to the existing product, profile, and reveal so the repair isn't visually obvious
- Re-caulking and sealing joints with products rated for our climate, not general-purpose caulk
- Confirming fastener type and spacing meet manufacturer specification, particularly important for homes exposed to salt air
Skipping any of these steps is how a "fixed" wall ends up with the same failure two or three years later. We'd rather take the extra time to open the wall up and confirm what's underneath than patch over a problem that's still there.
Why We Repair and Replace With James Hardie Fiber Cement Only
We install and repair with James Hardie fiber cement exclusively. We don't install vinyl, LP SmartSide, Cemplank, Allura, primed spruce, or cedar, and we won't patch a repair with a mismatched product just to save a step. That's a deliberate standard, not a limitation we work around.
Fiber cement is non-combustible and doesn't absorb and swell with moisture the way wood-based siding does — a real advantage in a climate defined by long wet stretches and persistent shade-driven dampness. Hardie's ColorPlus factory finish is baked on under controlled conditions, which holds up better against UV and moisture cycling than field-applied paint, and it comes with a genuinely useful warranty structure that's transferable if you sell the home. Hardie also engineers specific product lines (their HZ5 line, for example) for exactly the wet, moderate-climate conditions we have here. When we repair a section, matching it to existing Hardie siding keeps the whole wall performing the same way — something you can't do reliably when mixing materials with different moisture behavior and expansion rates.
Our Process, From Estimate to Finished Repair
We start with an on-site inspection, not a phone quote — siding damage almost always looks different once you're standing in front of it. We'll tell you plainly whether we're looking at a repair or something bigger, walk you through what we found and why, and give you a straightforward estimate before any work starts. Once you approve the scope, we schedule the repair, protect the surrounding landscaping and work area, and complete the fix in the sequence described above. Before we consider the job done, we walk the repair with you so you can see exactly what was done and why.
Why a Crew That Already Works This Area Matters
Siding repair done by a crew unfamiliar with the local exposure conditions tends to treat every wall the same way. A crew that already works around Mount Vernon and the Chuckanut area knows which elevations take the worst of the wind-driven rain, which yards hold enough shade to grow moss year-round, and which fastener and flashing details actually hold up against salt air over time. That local pattern recognition is the difference between a repair that solves the problem and one that just looks fixed for a season.
After the Repair: Keeping Moss and Moisture From Coming Back
A good repair buys you time, but a few habits keep it from repeating. Trim back vegetation that's shading and crowding exterior walls where practical, keep gutters clear so overflow isn't running down the siding face, and do a visual check after major storms for any new gaps at trim or joints. If moss starts returning to the same spot, it's worth a call before it becomes a moisture problem again rather than after.
If you're seeing any of the warning signs above on a home in the Mount Vernon area, we're glad to come take a look. The estimate is free, there's no pressure to sign anything on the spot, and you'll get a straight answer about whether you're looking at a repair or something more.