 Chuckanut Exterior
 Larrabee's Siding Problem Isn't Like Everyone Else's
Larrabee sits in one of the more exposed pockets of the Chuckanut area — close enough to the water off Chuckanut and Samish Bay to catch salt-laden air on windy days, and shaded enough by the surrounding fir and maple cover that siding rarely gets a full afternoon of sun to dry out after a storm. That combination is hard on exterior cladding in a way that inland Whatcom County neighborhoods just don't experience to the same degree. Salt air accelerates corrosion on fasteners and trim metal. Driving rain off the water finds every gap in flashing and caulk. And the tree cover that makes these lots so pleasant to live on also means siding stays damp longer after every rain event, which is exactly what moss, algae, and mildew need to take hold.
None of that means Larrabee homes are doomed to constant siding trouble. It means the repair work has to account for those specific stressors, not just patch the visible symptom. A lot of the siding repair calls we get in this stretch of Chuckanut are homes where a previous patch job addressed the crack or the stain but not the moisture pathway that caused it — so the same spot fails again a year or two later.
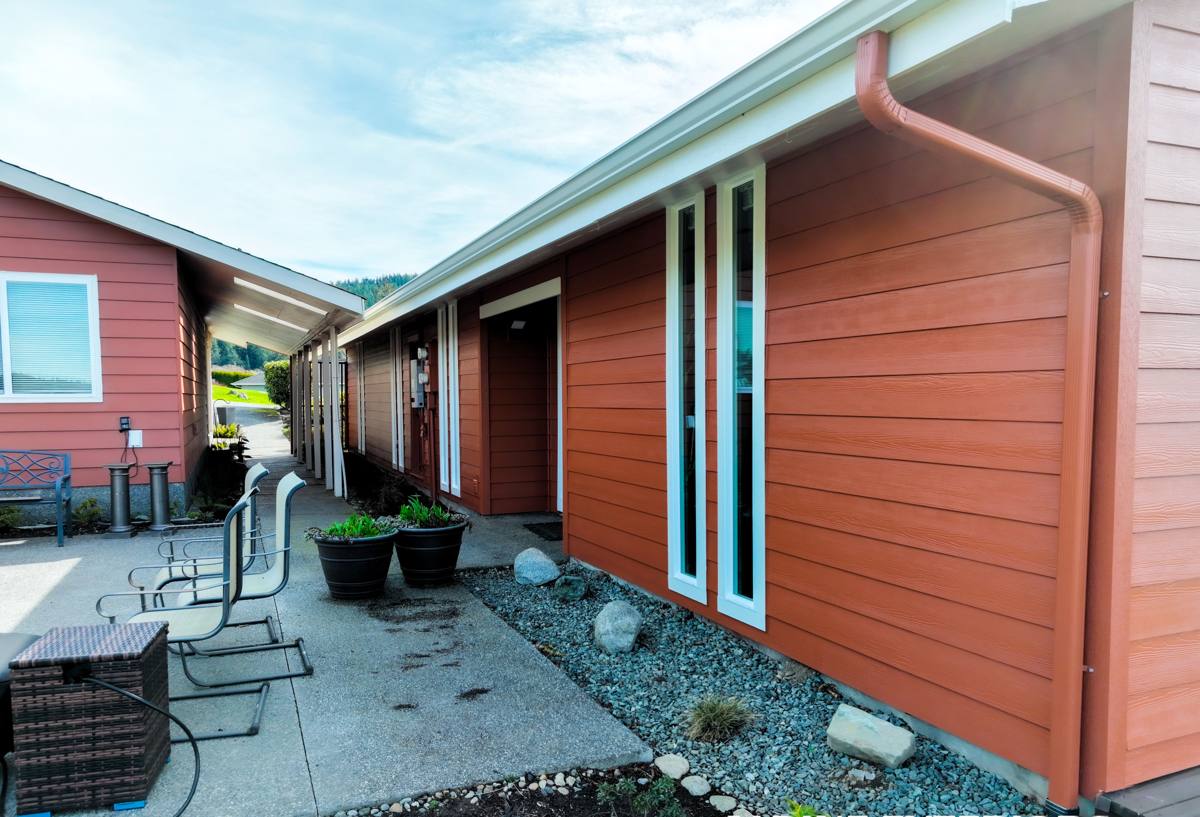
What Actually Damages Siding in Larrabee
Salt Air and Metal Fatigue
Salt in the air corrodes exposed fasteners, flashing, and trim faster than it would a few miles inland. Once a fastener head starts rusting, it can telegraph a rust stain through the siding above it or lose its grip entirely, letting a board or panel work loose.
Driving Rain and Wind-Driven Moisture
Storms coming off the water don't just fall straight down — they drive sideways into wall assemblies, testing every seam, joint, and piece of trim. Siding that was installed with marginal flashing or caulk-only joints tends to show its weak points here first.
The Long Moss Season
Shaded, damp siding is prime real estate for moss and algae. Beyond the cosmetic staining, moss holds moisture against the surface for extended periods, which is what actually causes the rot, delamination, or paint failure underneath — the moss itself is usually a symptom of a damp microclimate on that wall, not the root problem.
Signs Your Siding Needs Repair — And What They're Telling You
- Soft or spongy spots when pressed — usually trapped moisture and the start of rot in the substrate.
- Persistent moss or algae in the same spots — points to a wall area that isn't drying between rains, often due to shade, poor drainage, or a nearby sprinkler.
- Cracked or buckled boards/panels — can be impact damage, but repeated cracking in one area usually means moisture cycling or a fastening issue.
- Rust streaks below fasteners or trim — a sign of corroding metal, common in salt-exposed areas like Larrabee.
- Peeling or bubbling paint — almost always moisture pushing out from behind the surface, not just a coating that's simply old.
- Gaps opening at butt joints, corners, or trim — material movement or failed caulking that's letting water behind the cladding.
Any one of these can be a legitimate spot repair. Several of them clustered on the same wall, or repair work you've already had done that didn't hold, usually means there's a moisture source that hasn't been fixed yet.
What a Correct Siding Repair Actually Involves
A repair that lasts starts with figuring out why the damage happened, not just cutting out the bad piece and nailing up a new one. That means checking the flashing above windows, doors, and any horizontal trim in the repair area, confirming the water-resistive barrier behind the siding is intact, and making sure the replacement piece is properly lapped, fastened, and sealed — not just caulked over the gap and called done.
We also match material and profile as closely as possible so a repair doesn't stand out as an obvious patch, and we check the surrounding boards or panels for early-stage damage while we're already in that section of wall. It's far more efficient to catch a second problem area during the same visit than to send a crew back out in six months for a wall that was already showing signs the first time.
| Damage Type | Common Cause in Larrabee | Typical Repair Approach |
|---|---|---|
| Rot at bottom edge of boards | Splashback, poor grading, or clogged gutters keeping the lower wall wet | Cut out affected section, correct the moisture source, install new matching material with proper clearance |
| Moss/algae staining | Shade and prolonged dampness from tree cover | Clean surface, treat area, address ventilation or trim to speed drying if possible |
| Cracked panels near corners | Wind-driven rain finding a gap, or material movement at a joint | Replace panel, correct flashing/caulk detail at the joint |
| Rust staining below fasteners | Salt air corroding exposed fastener heads | Replace fasteners with corrosion-resistant type, patch or replace stained board |
| Peeling paint, no rot yet | Moisture behind the surface, early-stage | Identify and seal moisture entry point, repaint or refinish once dry |
Why We Repair With — and Recommend — James Hardie Fiber Cement
We install James Hardie fiber cement siding exclusively, and that standard carries into repair work too. Fiber cement doesn't rot, doesn't feed moss the way some organic or moisture-sensitive materials can, and it holds up to the wet, salt-tinged conditions around Chuckanut Bay far better over the long run than vinyl, which can warp and crack in temperature swings, or engineered wood products, whose long-term performance depends heavily on keeping every cut edge and seam sealed.
When we're called to repair siding that isn't Hardie, we'll still assess it honestly and tell you what a proper fix looks like for that material. But if a wall is showing repeat failures — the same spot rotting or staining again after a previous patch — that's usually a sign the material itself is struggling with the site conditions, not that the repair work was done poorly. In those cases we'll walk you through what replacing that section (or eventually the wall) with Hardie would look like, including Hardie's ColorPlus factory finish, which resists the fading and touch-up mismatch you often get patching field-painted siding.
Why Not Just Patch With What's Already There?
Matching an existing non-Hardie product exactly is sometimes possible and sometimes not — colors fade, discontinued profiles get harder to source, and a patch that doesn't match the surrounding material's expansion and moisture behavior can actually create a new failure point at the seam. We'll always tell you plainly which situation you're in before we start.
Our Repair Process
- On-site inspection. We look at the damaged area and the wall assembly around it — flashing, trim, drainage, and any related staining or soft spots nearby.
- Diagnosis, not just a patch estimate. We identify what let moisture or damage in, so the repair addresses the cause.
- Clear scope and pricing. You'll know upfront whether this is a straightforward spot repair, a larger section, or a case where repair isn't the better long-term move.
- Repair work. Damaged material is removed, the underlying assembly is corrected where needed, and new material is properly flashed, fastened, and finished to match.
- Walkthrough. We show you what was done and what to watch for going forward, especially on a shaded or exposed wall that's more prone to recurring moisture issues.
Repair vs. Replace: How We Help You Decide
Not every damaged wall needs a full re-side, and we won't push you toward one. A single damaged area with a clear, fixable cause is usually a straightforward repair. But if a home has multiple walls showing age-related failure, if the siding material itself has a history of struggling with Chuckanut's damp, shaded conditions, or if repeated past patches keep failing in the same areas, replacement can end up being the more cost-effective choice over a five- or ten-year horizon — fewer callbacks, less cumulative repair spend, and a Hardie warranty backing the work.
We'll give you our honest read on which category your home falls into. If it's a repair, we'll do the repair. We don't upsell replacement on a wall that doesn't need it.
Why It Matters That We Already Work in Larrabee
A crew that's worked this stretch of Chuckanut knows what a Larrabee wall usually looks like after ten or fifteen years of salt air and shade — where moss tends to establish first, which elevations catch the worst of the wind-driven rain off the bay, and how tree cover on a given lot affects drying time. That's not something you can fully judge from a generic siding checklist; it's pattern recognition built from being on these roofs and walls repeatedly. It means a faster, more accurate diagnosis and fewer surprises once we open up a wall section.
Simple Maintenance That Prevents Repeat Repairs
- Keep gutters clear so overflow isn't running down the wall face and soaking the siding near the bottom edge.
- Trim back branches and vegetation that keep a wall in constant shade — even a little more airflow and light speeds up drying after rain.
- Rinse visible moss or algae buildup before it spreads, especially on north-facing or heavily shaded walls.
- Check and refresh caulking at trim joints, window and door surrounds, and corners every couple of years.
- Walk the exterior after major storms and note any new cracking, staining, or loose boards while it's still a small fix.
- Don't let sprinklers or irrigation spray directly onto siding — that's an easily overlooked, easily fixed moisture source.
If you're seeing moss, staining, soft spots, or cracked siding on a Larrabee home, we're happy to take a look and give you a straightforward, no-pressure assessment of what's actually going on and what it would take to fix it right. Use the form below to request a free estimate.