 Chuckanut Exterior
 Storm Repair for a Lake Community Built Under the Trees
Lake Samish sits in a forested pocket of the Chuckanut corridor, and that setting is exactly why storm damage here looks different from storm damage on an open lot in town. Homes are tucked under conifer canopy, close to steep, wooded hillsides, and within reach of the marine air that moves inland off Samish Bay and the wider Puget Sound. That combination — tall trees, wet weather rolling off the water, and a roofline that rarely gets full sun — means storm damage and moisture damage tend to show up together. A wind event doesn't just lift shingles; it also knocks debris loose from branches that have been shading and dampening that roof for years.
We work on roofs throughout the Chuckanut area and Whatcom County, and Lake Samish jobs come with their own pattern: less hail, less hard freeze-thaw cracking than you'd see east of the Cascades, but a lot more wind-driven rain, falling limbs, and moss working into a roof's weak points over time. A storm repair here has to account for all of that, not just patch the obvious hole.
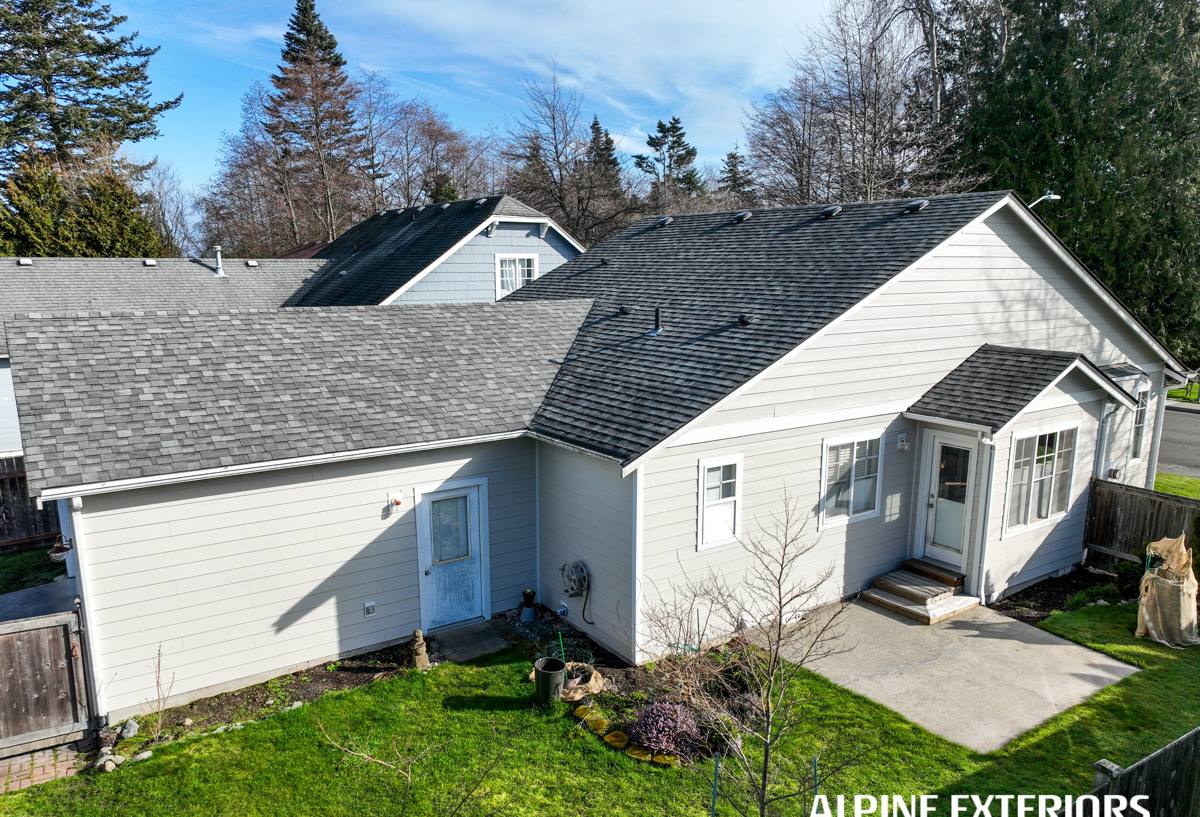
What a Storm Actually Does to a Lake Samish Roof
Most "storm damage" calls in this area trace back to one of a few causes, often stacked on top of each other:
Wind and Driving Rain
Winter storms off the Salish Sea bring sustained wind combined with rain coming in sideways rather than straight down. That's a different stress than a simple downpour — driving rain gets pushed up and under shingle edges, ridge caps, and flashing, especially on roofs that already have a few seasons of wear. Wind alone can lift or crease shingles without fully tearing them off, which is why some storm damage isn't obvious from the ground.
Falling Limbs and Debris
With so many homes on or near Lake Samish set among mature trees, storm damage frequently means impact damage — a branch, not the wind itself, punctures the roof deck or cracks a shingle. Even a limb that doesn't go all the way through can crush the mat of an asphalt shingle or knock granules loose, which shortens that shingle's life even though the roof looks intact afterward.
Moss and Trapped Moisture
Whatcom County's long, wet moss season means algae and moss are already working on shaded, north-facing, and tree-covered roof sections before a storm ever hits. Moss holds water against the roofing material and lifts shingle edges slightly — which gives wind and rain a place to get started. A roof with active moss growth is more vulnerable to storm damage than a clean one, and it's a big reason two roofs that took the same storm can end up needing very different repairs.
Signs You May Have Storm Damage
Some damage is obvious — a tarp-worthy hole, a branch through the roof deck. A lot of it isn't. After any significant wind or rain event, it's worth checking for:
- Shingles that are cracked, curled, creased, or missing entirely
- Granules collecting in gutters or at the base of downspouts
- Bent, lifted, or missing flashing around chimneys, vents, and skylights
- Ridge caps that look shifted or loose along the roof's peak
- Water stains on interior ceilings or in the attic, especially near exterior walls
- Soft or spongy spots when the roof deck is walked (a sign water has reached the sheathing)
- Fresh moss or dark streaking concentrated where a shingle edge has lifted
- Debris caught in the roof valley or against a chimney that's been sitting long enough to hold moisture
Any one of these on its own might not mean much. Two or three together, especially after a storm, usually means it's time for a closer look before the next rain gets in.
What a Correct Storm Repair Actually Involves
A storm repair done right isn't just swapping out the shingles you can see from the driveway. It's a sequence:
1. Stop Active Water Intrusion
If a roof is actively leaking or has an open puncture, the first job is stopping water from getting further into the structure — tarping, temporary flashing, or sealing an exposed area. This matters more around Lake Samish than in a drier climate, because a roof that sits open for even a few days during our wet season can pick up trapped moisture in the decking that causes problems long after the visible damage is fixed.
2. Check the Deck, Not Just the Shingles
Shingles are the easy part to replace. The real question is whether the plywood or OSB decking underneath got wet or damaged. Skipping this step is the most common shortcut in a rushed storm repair — and it's the one that leads to soft spots and rot showing up a year or two later. Any section that's delaminating, spongy, or discolored needs to come out and be replaced, not covered over.
3. Match the Repair to the Existing Roof
Shingle color, profile, and even granule wear change over time, so a patch that's an exact product match on day one can still look slightly different once it weathers in. A good repair uses shingles as close as possible to what's already on the roof and places the transition where it will be least noticeable — often blending into a valley, ridge, or full slope rather than a small visible square in the middle of a field of shingles.
4. Address the Cause, Not Just the Symptom
If moss contributed to the damage, a repair that doesn't deal with the moss is a repair that will need to happen again. That can mean careful cleaning, checking that gutters and valleys are clear so water actually drains, and confirming attic ventilation is doing its job — a poorly ventilated attic holds moisture and heat that accelerates moss growth and shingle aging from underneath.
5. Reinstall Flashing Properly
Flashing around chimneys, skylights, and roof-to-wall transitions fails quietly. It's one of the most common places driving rain gets in during a storm, and it's also one of the most common things done wrong on a cheap repair — reusing bent or corroded flashing instead of replacing it.
Repair or Replace? What Actually Drives That Decision
Not every storm-damaged roof needs a full replacement, and not every roof that "just needs a patch" should get one. The honest answer depends on a few concrete factors:
| Factor | Points Toward Repair | Points Toward Replacement |
|---|---|---|
| Extent of damage | Damage limited to one slope or a small, defined area | Damage spread across multiple slopes or valleys |
| Roof age | Roof is well within its expected service life | Roof is already near the end of its typical lifespan |
| Deck condition | Decking is dry and sound under the damaged area | Decking shows rot, delamination, or repeated soft spots |
| Moss/algae history | Isolated growth, roof otherwise in good shape | Heavy, long-term moss coverage with lifted shingles roof-wide |
| Shingle match availability | Current shingle style/color still reasonably matchable | Discontinued product, patch would be visibly mismatched |
| Prior repair history | First significant repair on this roof | Multiple past patches, recurring leak locations |
We'll tell you honestly which side of that table your roof falls on. A roof that only needs a repair doesn't need a sales pitch for a replacement — and a roof that's genuinely at the end of its life doesn't get better with another patch.
How Our Process Works
Inspection First
We walk the roof (or use a drone where a walk-on inspection isn't safe) and check the attic from inside, not just the exterior. That's the only way to tell whether water reached the decking or insulation, which matters more than what the shingles look like from the ground.
A Clear, Written Scope
Before any work starts, you get a plain description of what's damaged, what needs to be done, and why — not a vague estimate. If we find something once we're into the repair, like hidden rot under a shingle line, we stop and tell you before proceeding, not after the invoice.
The Repair Itself
Emergency mitigation first if needed, then deck repair, underlayment, flashing, and matched shingles, followed by a check of gutters, valleys, and ventilation in the affected area so the same failure doesn't repeat next storm season.
Final Walkthrough
We show you what was done and what to keep an eye on, particularly if there's remaining moss elsewhere on the roof that's worth monitoring or addressing separately.
Insurance and Documentation
Most storm damage claims hinge on documentation: clear photos of the damage, a written scope of work, and an inspection that distinguishes storm damage from ordinary wear. We document what we find as part of the inspection, which gives you something concrete to work with if you're filing a claim. We're not an insurance company and don't make coverage decisions — that's between you and your adjuster — but a well-documented repair estimate makes that conversation go a lot smoother than a verbal quote and a handshake.
Why It Matters That We Already Work in Lake Samish
A crew that only sees this neighborhood once might treat a storm repair as a generic patch job. A crew that works the Chuckanut area regularly knows that a roof here is fighting a different set of conditions than a roof in an open subdivision closer to Bellingham proper — more shade, more moss pressure, more debris from mature trees, and weather coming off the water. That context changes real decisions: how aggressive to be about ventilation, whether moss is likely to come back fast in a particular spot, and how a patch will actually weather against a roof that's spent years under tree cover.
It also means we're not guessing at material lead times, access for larger jobs on sloped, wooded lots, or how Whatcom County's wet season affects scheduling. Storm repairs are time-sensitive by nature — the longer a roof sits open, the more the exposed decking and interior are at risk — so knowing the area well enough to move quickly is part of doing the job right, not just a nice extra.
Get an Honest Look Before It Gets Worse
If a recent storm left you with missing shingles, a leak, or just a nagging feeling that something's not right up there, it's worth getting it looked at before the next round of Pacific Northwest rain finds the weak spot. We offer free, no-pressure estimates for storm damage roof repair in Lake Samish and the surrounding Chuckanut area — use the form below to get started.