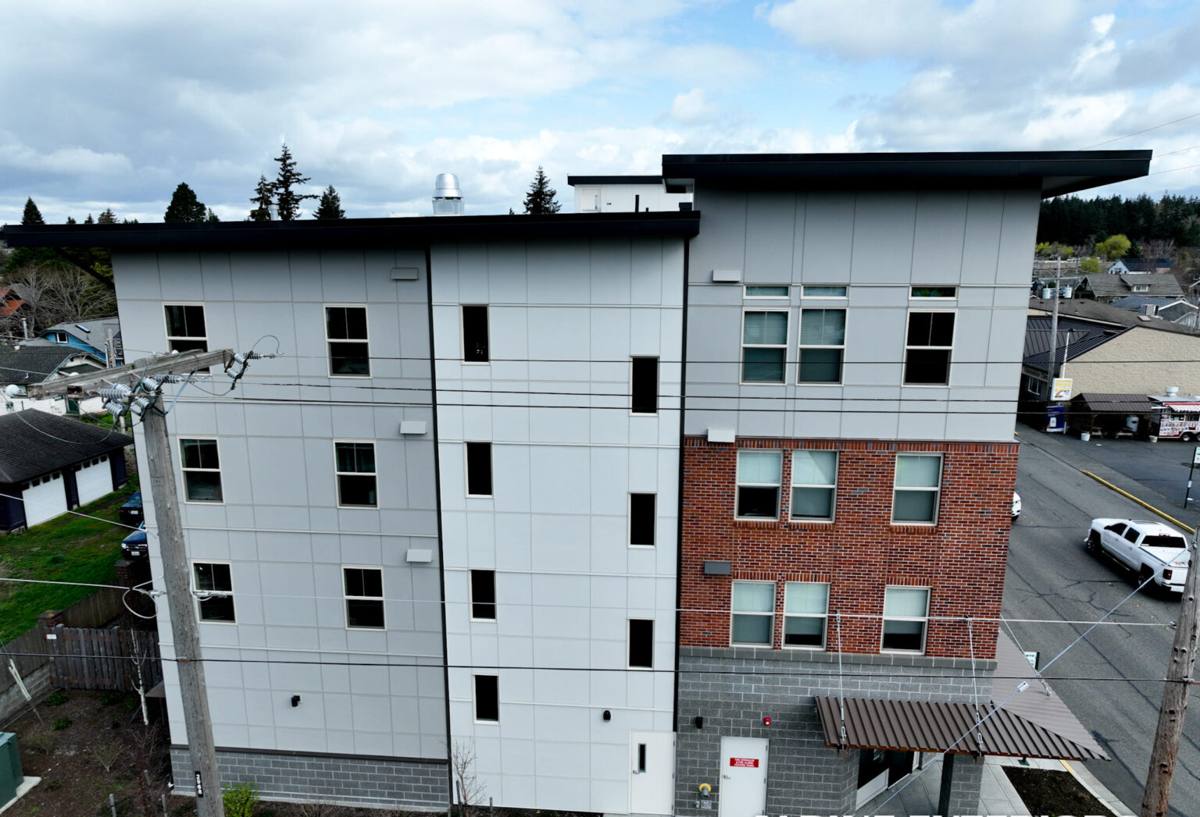
 Chuckanut Exterior
 New-Construction Windows in Alger: A Different Job Than a Replacement
Installing windows during new construction is not the same trade as swapping out an old window in an existing wall. On a new build, the window goes into a raw rough opening before siding, before the final weather-resistive barrier laps are closed, and often before the builder has finished framing adjacent walls. That timing is an advantage if it's used correctly — the window can be integrated into the wall's water management system as one continuous, sealed assembly instead of being patched into it later. It's a liability if it's rushed, because mistakes made at this stage get covered up by siding and trim and don't show up as a problem for years.
For homes going up in and around Alger, that first-time-right installation matters more than it would somewhere drier. This is a stretch of Whatcom County that gets a genuine mix of coastal air off the Sound and sustained winter rain systems, and any gaps in the window-to-wall connection eventually find their way to the framing.
What Chuckanut-Area Weather Actually Does to a Window Assembly
Salt Air
Homes closer to the water pick up airborne salt that settles on exterior surfaces and accelerates corrosion of unprotected metal — fasteners, hardware, and lower-grade aluminum components in particular. It doesn't destroy a window overnight, but over a decade or two it will find the weak points: exposed screws, poor-quality cladding, hardware that wasn't rated for coastal exposure.
Driving Rain
Rain here rarely falls straight down. Wind-driven rain gets pushed sideways into wall assemblies, which means a window's weather resistance depends less on the glass and more on how well the frame sheds water and how well the flashing directs anything that gets past the frame back out and away from the sheathing.
Moss Season
Long stretches of damp, low-light weather grow moss and algae on any horizontal or slow-draining surface — window sills, sloped trim, and head flashing included. Moss holds moisture against the material it's growing on, which is hard on wood trim and can accelerate finish breakdown on lower-quality vinyl or clad products. Sill and trim details that shed water quickly and don't create ledges for organic growth to take hold matter more here than in a drier climate.
Choosing the Right Window Material for New Construction Here
There's no single "best" window material — the right call depends on budget, exposure, and how the home is built. For new construction in this area, we walk clients through the trade-offs honestly rather than pushing one product line.
| Material | Salt Air / Moisture Behavior | Maintenance | Typical Cost Position |
|---|---|---|---|
| Vinyl | Won't corrode; performs well if the frame is well-engineered and properly flashed | Low — occasional cleaning, no refinishing | Entry to mid-range |
| Fiberglass | Very stable in wet, temperature-swinging climates; resists warping and corrosion | Low | Mid to upper-mid |
| Aluminum-Clad Wood | Good exterior weather resistance from the cladding, but interior wood needs the seal maintained; hardware quality matters near salt air | Moderate — watch cladding seams and interior finish over time | Upper-mid to high |
| Bare Aluminum | More prone to corrosion and condensation issues in a cold, damp climate unless thermally broken | Moderate to high | Varies |
Our standard for new construction here is to steer clients toward products with corrosion-resistant hardware and factory finishes rated for coastal or marine-adjacent exposure, and away from budget-tier aluminum trim pieces that tend to show pitting and staining earliest in this kind of climate. That's a maintenance and longevity call, not a knock on any single manufacturer.
Flashing and Water Management: The Part That Actually Prevents Leaks
Glass and frame quality get most of the attention, but the majority of window failures we see traced back to new construction start with the flashing detail, not the window itself. On a new build we control this from the start:
- Sill pan flashing installed under the window before it's ever set, sloped to drain outward
- Weather-resistive barrier lapped correctly — upper layers over lower layers — so water sheds down and out, never into the wall
- Window flanges integrated into the WRB with proper corner patches, not just caulked at the edges
- Head flashing that extends past the jamb flashing and directs water clear of the opening
- Backer rod and sealant at the interior air seal, separate from the exterior water seal — these are two different jobs and shouldn't be handled with one bead of caulk
Done in this order, the window becomes part of the wall's drainage plane instead of a hole punched through it. This is the single biggest reason we prefer to be on site during framing rather than showing up after siding is already on.
Working With Your Builder or GC: How the Timing Works
Most of our new-construction window work in the Alger area is coordinated directly with a general contractor or builder, not the homeowner alone. That coordination has a rhythm to it:
Rough Opening Verification
Before windows arrive, we check rough openings against the actual window schedule — width, height, and square. Framing tolerances that are close enough for a door are often not tight enough for a window that needs to seal and operate correctly.
Set and Flash Before the Siding Crew Arrives
Windows go in and get fully flashed and sealed before siding starts, so there's no gap in the weather barrier at any point in the build.
Punch List Coordination
We walk the openings with the builder before drywall closes up the interior, so any adjustment — a sticking sash, an out-of-level unit, a missed sealant line — gets caught while it's still easy to fix.
Energy Code and Performance Considerations
Washington's energy code sets minimum performance requirements for new construction windows, and those requirements are stricter than most people expect if they haven't built recently. U-factor (how much heat the window loses) and, depending on orientation and glazing, solar heat gain coefficient both get checked against the code path the builder is using for the home. On a new build, we confirm the specified units actually meet the code requirement for this climate zone before they're ordered — catching a mismatch after installation means pulling windows back out, which nobody wants.
Beyond the code minimum, tighter, well-flashed installation adds real performance on top of what the window itself is rated for. A high-performance window installed with air gaps at the rough opening will underperform a mid-grade window installed correctly.
Pre-Installation Checklist for New Construction Rough Openings
Before we set the first window on any new build, we confirm the following:
- Rough openings match the approved window schedule dimensions and are square within tolerance
- Sill height and slope allow proper drainage away from the structure
- Weather-resistive barrier is installed and lapped correctly up to the opening
- Sill pan flashing material is compatible with both the WRB and the window flange material
- Window units on site match the order — size, grille pattern, glazing package, hardware finish
- Fastening schedule matches manufacturer requirements for wind and structural load in this area
- Interior air-sealing plan is coordinated with the insulation contractor's schedule
Skipping any one of these doesn't usually cause a problem on day one — it shows up two, five, or ten years later as a stain on a sill, a soft spot in framing, or a window that won't seal against wind-driven rain.
Why a Crew That Already Works Alger Matters
General installation standards are the same everywhere, but the judgment calls — which flashing details to prioritize on a home with heavy west or south exposure, which trim profiles shed water instead of holding it, which hardware finishes actually hold up to a few winters of salt air and rain — come from having done this specific work in this specific area repeatedly. We've set windows on builds around Whatcom County long enough to know which details matter most for homes in this exposure, and we build our new-construction process around those lessons rather than a generic checklist.
We also know the practical side of working alongside local builders and framing crews — scheduling around inspections, coordinating with the WRB and siding subs, and keeping the rough opening tolerances tight enough that nobody's re-shimming a window on install day.
What Correct Installation Looks Like on Install Day
On a typical new-construction install, the sequence runs: verify the opening, dry-fit the unit, install sill pan flashing, set the window level and plumb, fasten per the manufacturer's schedule, integrate jamb and head flashing with the WRB, air-seal the interior perimeter, and do a final operational check on every sash and lock. Each window gets checked individually — new-construction schedules often mix sizes and configurations across a single elevation, and treating every opening as identical is how mistakes happen on a busy job site.
If you're building or having a home built in the Alger area and want windows installed right the first time — flashed, sealed, and set to hold up to this region's rain and salt air for the long haul — we're happy to walk the plans with you or your builder and put together a free, no-pressure estimate.