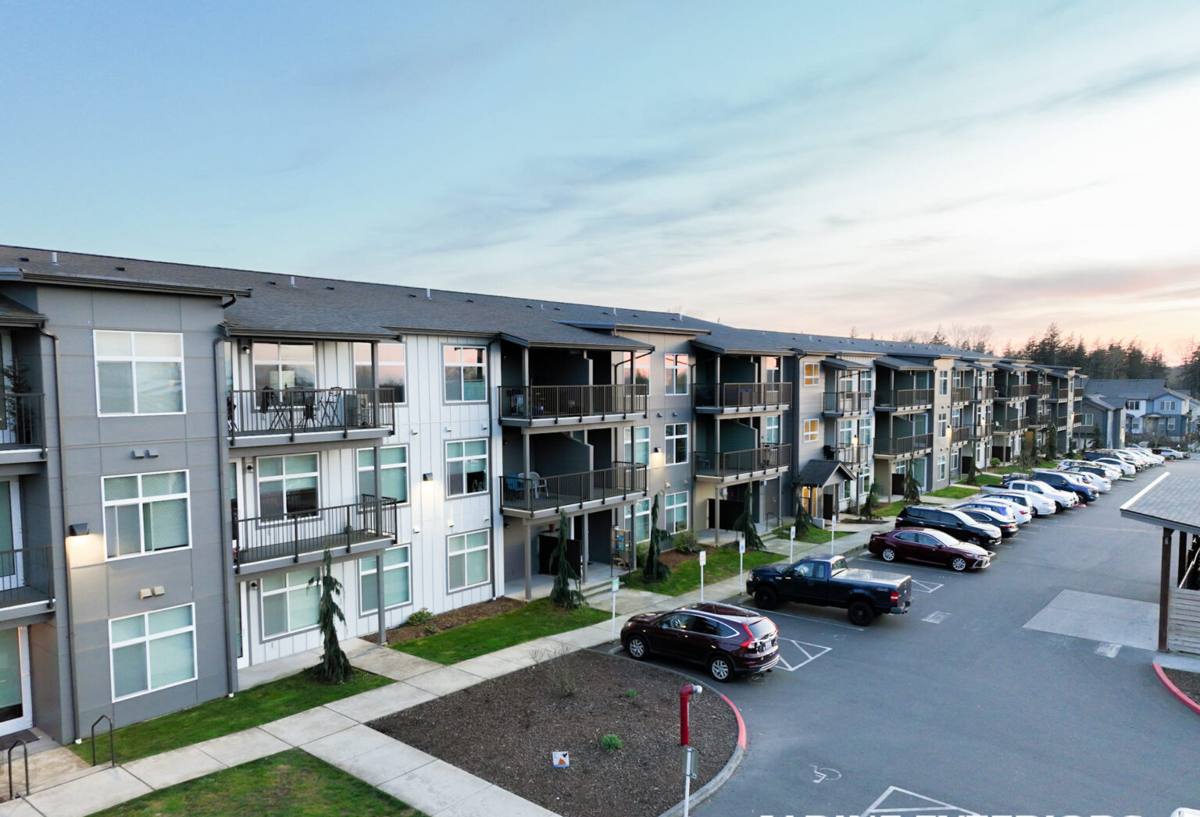
 Chuckanut Exterior
 Building New in York? Get the Windows Right the First Time
New construction is the one point in a home's life where windows can be installed exactly right, with no shortcuts forced by an existing wall, old flashing, or a finished interior in the way. For homeowners and builders working on lots in and around York, that's a real advantage — but only if the crew doing the work understands what Whatcom County weather actually does to a window opening over the next twenty or thirty years.
York sits close enough to the water that salt-laden air, wind-driven rain, and a long, damp moss season are simply part of the building envelope's daily reality. Windows installed here don't just need to look good and seal tight on install day. They need flashing details, drainage paths, and hardware that will still be doing their job a decade from now, after hundreds of wet-season storms have tested every seam.
What Chuckanut's Climate Demands from a New Window Install
Salt Air and Metal Components
Proximity to Puget Sound and the Salish Sea means airborne salt is a factor for exterior metal — hinges, cranks, screen frames, and cladding fasteners. Lower-grade hardware corrodes faster here than it would inland. On new construction, we spec corrosion-resistant hardware and fasteners as a baseline, not an upgrade, because replacing a pitted crank mechanism five years in is a hassle nobody wants on a brand-new home.
Driving Rain and Flashing Sequence
Wind-driven rain doesn't just fall on a window — it gets pushed sideways and upward into any gap that isn't properly shingled and sealed. On new builds, the flashing sequence matters more than the window itself: house wrap, sill pan, jamb flashing, and head flashing all have to layer in the correct order so water is directed out and down, never trapped behind the cladding. Get this sequence wrong and you won't see a problem for a year or two — then it shows up as rot inside a wall you can't easily open back up.
Moss Season and Prolonged Moisture Exposure
Whatcom County's long, damp season means anything porous stays wet for extended stretches, which is exactly the condition moss and mildew need to establish. Window sills, trim boards, and the transition points where the window meets siding are common spots for growth if drainage isn't designed to shed water quickly. A correctly built sill pan and a slight outward slope on the sill trim make a bigger long-term difference than most homeowners expect.
What a Correct New-Construction Window Install Actually Involves
New construction gives us access to the rough opening before any interior or exterior finish goes on, which means we can build the water-management system the way it's supposed to be built — not retrofit it around existing materials. On a York job, that generally includes:
- Sill pan flashing that creates a dedicated drainage plane at the bottom of the rough opening, so any water that gets past the window has somewhere to go besides the framing
- Self-adhered flashing membrane at the jambs and head, lapped in the correct shingle-style order over the house wrap
- Proper shimming and leveling of the window unit itself, checked for square and plumb before a single fastener goes in
- Fasteners placed per manufacturer spec — over-driving or under-driving screws is a common cause of premature seal failure and warranty denial
- Insulation and air-sealing around the perimeter of the frame, using low-expansion foam or backer rod rated for window applications
- Exterior trim and cladding tie-in that maintains a clear drainage path and doesn't trap moisture against the frame
- A final water test where conditions allow, so problems get caught before drywall and siding close everything up
Every one of those steps is easier and more reliable to do right during new construction than during a retrofit. That's the whole advantage of building it in from day one — but it only pays off if the installer actually follows the sequence instead of rushing to keep pace with a framing schedule.
Choosing Window Products for a York Build
We don't push one brand as a universal answer, because the right window depends on the home's design, budget, and exposure. What we do insist on is honesty about trade-offs. A few of the practical differences that matter most for this area:
| Frame Material | Strengths in Local Conditions | Trade-Offs to Know |
|---|---|---|
| Vinyl | Good moisture and salt-air resistance, low maintenance, competitive cost | Fewer high-end color/trim options; frame flexes more on larger units |
| Fiberglass | Very stable in temperature and moisture swings, holds paint well, strong for larger openings | Higher upfront cost than vinyl |
| Wood-Clad | Warm interior appearance, good insulating properties | Cladding seams need careful sealing; interior wood needs long-term upkeep if exposed to moisture |
| Aluminum | Strong, slim sightlines, common on modern designs | Conducts heat and cold; needs a thermal break to perform well in our climate |
For coastal-influenced builds like those in York, we generally steer homeowners toward vinyl or fiberglass frames with a documented moisture and corrosion warranty, and we're candid when a product's install tolerances are tight enough that they raise the risk of a bad seal in the field. That's a maintenance and reliability judgment on our part, not a knock on any manufacturer — every product performs differently depending on how and where it's installed.
Glass Packages: What Actually Matters Locally
Beyond the frame, the glass package affects comfort and condensation control, which is relevant given how much moisture is in the air here for much of the year.
- Double-pane, low-E glass is the practical baseline for new construction in this climate — it manages heat loss and helps reduce interior condensation on cold, damp mornings.
- Argon or krypton gas fill between panes improves insulating performance without a major cost jump, and is worth including on most new builds.
- Warm-edge spacers reduce the cold spot at the glass edge where condensation and, over time, seal failure tend to start first.
- Triple-pane glass is worth discussing for north-facing or particularly exposed elevations, though it adds cost and weight that should be weighed against the specific opening.
Our Process for York New-Construction Projects
1. Plan Review and Site Walk
We review the build plans or walk the framed opening in person, checking rough opening sizes against ordered window dimensions and flagging any framing issues before they become install-day problems.
2. Product and Flashing Plan
We go over frame material, glass package, and hardware options with the homeowner or builder, and confirm the flashing and drainage plan for each elevation — paying particular attention to walls facing prevailing wind and rain.
3. Installation
Windows go in following the sequence described above: sill pan, window, flashing layers, shimming, fastening, insulation, and trim tie-in. We work off the same checklist on every opening so nothing gets skipped when the schedule is tight.
4. Inspection and Documentation
Once installed, each window is checked for level, square, and proper operation, and we document the install for warranty purposes. If the build schedule allows a water test before siding goes on, we do it — it's the cheapest insurance available against a callback later.
Why Hire a Crew That Already Works This Area
Framing crews, siding contractors, and general contractors in Chuckanut and the wider Whatcom County area tend to work with the same handful of window installers repeatedly, because coordinating flashing sequence and timing between trades matters more than people expect. A crew that already knows the local building department's expectations, the typical framing tolerances in this area, and how York's coastal exposure affects flashing decisions can move through a build without the back-and-forth that slows down first-time coordination. That familiarity translates directly into fewer surprises and fewer callbacks once the home is finished and weather starts testing the work.
Common Mistakes We See on New Builds
Most window problems on new construction don't come from a bad window — they come from installation shortcuts. The patterns worth watching for:
- Skipping or improvising the sill pan flashing to save time, leaving no dedicated drainage path if water gets behind the window
- House wrap and flashing lapped in the wrong order, which can direct water into the wall instead of away from it
- Over-shimming or racking a window frame during install, which stresses the sash and leads to early hardware wear
- Sealing the interior perimeter airtight while leaving the exterior drainage plane blocked, trapping any moisture that does get in
- Rushing fastener placement to keep pace with a framing crew, resulting in over-driven screws that crack vinyl or distort frames
None of these are exotic problems. They're avoidable with a consistent process and a crew that isn't treating window installation as an afterthought squeezed between framing and siding.
Get a Free Estimate for Your York Build
If you're framing a new home in York or elsewhere in the Chuckanut area and want the window installation planned and executed correctly from the start, we're glad to walk the site, review your plans, and put together a straightforward estimate — no pressure, no hard sell. Use the form below to get started.