 Chuckanut Exterior
 Siding Built for Silver Beach's Climate, Not Just Installed
Silver Beach sits in one of the wetter, greener corners of Whatcom County, and that setting is hard on exterior siding in ways that don't show up on a spec sheet. Homes here deal with a long wet season, driving rain that comes in sideways off open water and wind, salt-tinged marine air that accelerates corrosion on fasteners and trim, and a moss season that can stretch for months under the tree canopy common to this part of Chuckanut. Siding that isn't installed with those specific conditions in mind tends to fail quietly — moisture gets behind panels, fasteners corrode, and paint or coatings break down years before they should.
We install siding in this exact climate zone regularly, which means the details we pay attention to aren't theoretical. They're the difference between a siding job that looks good for two summers and one that protects the house for decades.
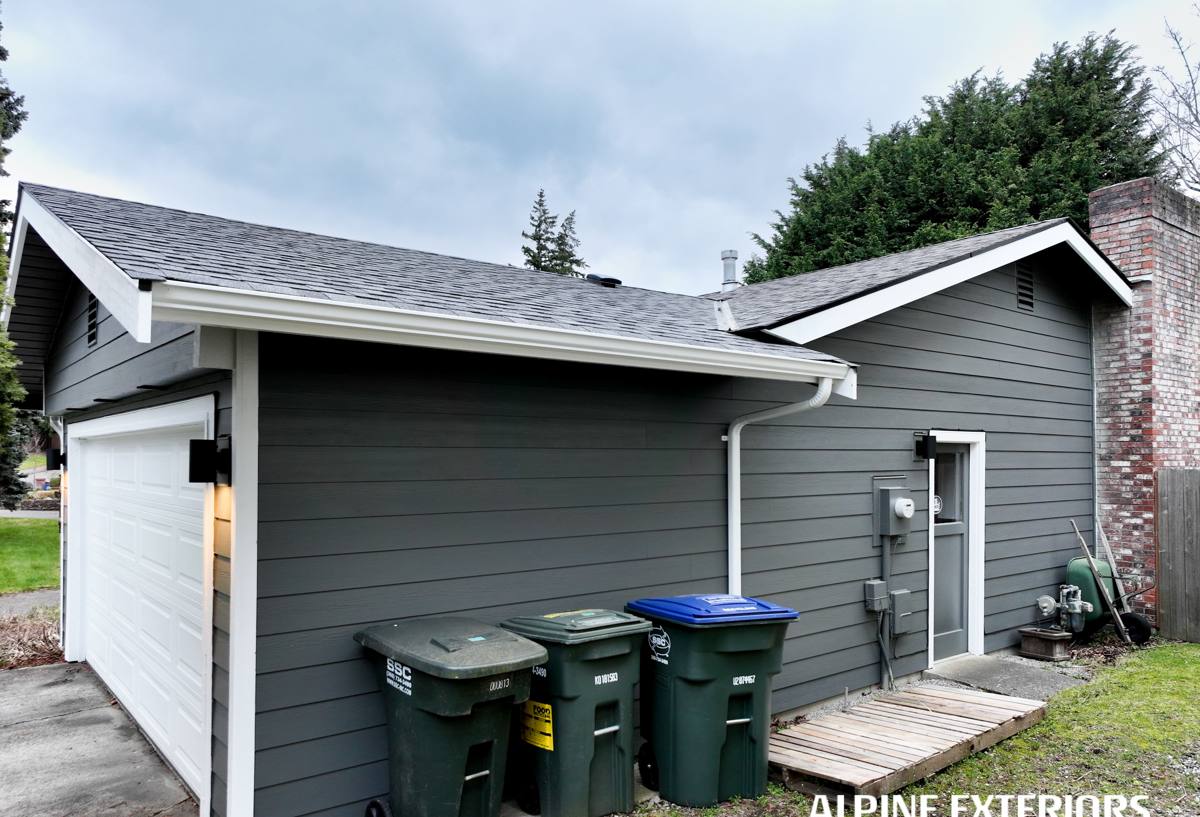
What Silver Beach Homes Actually Need From Their Siding
Moisture Management First
The single biggest threat to any siding system in this part of Washington isn't the rain hitting the surface — it's what happens to the rain that gets past the surface. Every siding installation needs a properly lapped weather-resistive barrier, correctly flashed windows and doors, and enough clearance at grade, decks, and roof lines for water to shed instead of pool. Skip any of these and the siding itself almost doesn't matter; the wall assembly behind it will rot regardless of what's nailed to the front.
Moss and Organic Growth Resistance
Shaded lots, tree cover, and near-constant damp air create ideal conditions for moss, algae, and mildew to take hold on exterior surfaces. Wood-based sidings and some composite products are especially vulnerable because moss retains moisture against the surface, which speeds up rot and coating failure. A siding material's resistance to sustained dampness matters as much here as its looks.
Fastener and Trim Corrosion
Homes closer to open water pick up salt-laden air that accelerates corrosion on exposed metal — nail heads, trim flashing, hose bibs, light fixtures. Correct installation means using fasteners and flashing rated for coastal exposure, not whatever is cheapest on the truck that day.
Why We Install Only James Hardie Fiber Cement
We made a decision as a company to install James Hardie fiber cement siding exclusively. We don't install vinyl, LP SmartSide, primed spruce, cedar, or other fiber cement brands. That's not a marketing position — it's a practical one, built around exactly the conditions Silver Beach homes face.
Fiber cement is non-combustible and dimensionally stable in a way wood and wood-composite products aren't, so it doesn't swell, cup, or delaminate the way those materials can when they take on repeated moisture. James Hardie's HZ5 product line is specifically engineered for the Pacific Northwest's wet, moderate climate, and the factory-applied ColorPlus finish is baked on under controlled conditions rather than field-painted, which gives it far better resistance to fading, cracking, and peeling than site-applied paint on wood or vinyl's baked-in color. It also comes with a strong transferable warranty that reflects genuine confidence in long-term performance, not just a sales incentive.
None of that means other products are junk — vinyl is inexpensive and low-maintenance in mild conditions, and cedar has real aesthetic appeal for the right buyer. But given what this climate does to exterior surfaces over 15, 20, 30 years, we don't think those trade-offs make sense for homes we're putting our name on. Hardie, installed correctly, does.
What a Correct Installation Actually Involves
Fiber cement siding is only as good as the installation behind it. James Hardie publishes detailed installation specifications, and deviating from them — even in small ways — is where most siding failures actually originate, not in the material itself.
- Weather-resistive barrier installed and lapped correctly, with all penetrations sealed
- Proper flashing at every window, door, and roof-to-wall intersection
- Minimum clearance maintained at grade, decks, patios, and roof lines so water can't wick into the bottom of the siding
- Correct fastener type, spacing, and placement per Hardie's published specs for the specific product and exposure
- Panels and joints gapped and caulked according to manufacturer requirements, not just butted tight
- Factory-cut edges sealed where field cuts expose raw material
- Rain screen or drainage plane detailing appropriate for the wall assembly, especially on shaded or moisture-prone elevations
Any one of these done wrong can undermine an otherwise good product. This is also why manufacturer certification and installer experience matter more with fiber cement than with materials that are more forgiving of installation shortcuts.
Our Process
1. On-Site Assessment
We start by walking the exterior with you, looking at the current siding's condition, the wall assembly underneath where accessible, drainage patterns around the foundation, and any trouble spots — areas with visible moss, staining, soft spots, or repeated moisture exposure.
2. Scope and Estimate
We put together a clear, itemized estimate covering material, tear-off (if needed), any sheathing or moisture-barrier repair the assessment turns up, and installation. No pressure, no inflated urgency — just an honest read of what the house needs.
3. Preparation and Tear-Off
Existing siding is removed carefully, and we inspect the sheathing and framing underneath for hidden rot or moisture damage before anything new goes up. This step is where problems that caused the original siding to fail usually get found — and it's the step that gets skipped by crews trying to move fast.
4. Weather Barrier and Flashing
A new weather-resistive barrier goes on with correct laps and seals, followed by flashing at every opening and transition. This layer does more long-term protective work than the visible siding itself.
5. Hardie Installation
Panels, planks, or shingles go on per James Hardie's specifications for the selected product line, with attention to fastening, gapping, and joint treatment throughout.
6. Final Walkthrough
We walk the finished exterior with you, check details up close, and make sure everything meets the standard we'd want on our own homes.
Signs Your Current Siding Needs Attention
Not every siding problem is obvious from the street. A few things worth checking, especially on north-facing or tree-shaded walls common around Silver Beach:
- Persistent moss or dark staining that returns shortly after cleaning
- Soft or spongy spots when pressed, particularly near the bottom courses or below windows
- Paint or finish that's peeling, chalking, or has gone flat and dull
- Visible gaps, warping, or panels that have pulled away from the wall
- Rusted or popped fasteners visible on the surface
- Interior signs — musty smell, discoloration, or peeling paint on interior walls that back up to exterior siding
What Affects the Cost
| Factor | Why It Matters |
|---|---|
| Tear-off vs. install over existing sheathing | Removing old siding adds labor but is often the only way to properly inspect and repair the wall assembly underneath |
| Hidden moisture or rot damage | Common in older homes in wet climates; sheathing or framing repair adds cost but is not optional if found |
| Home size and wall complexity | Multiple stories, dormers, and cut-up wall lines increase labor and material waste |
| Product line and profile | Lap siding, shingle-style panels, and trim boards vary in material cost and installation time |
| Site access | Steep lots, limited driveway access, or tight setbacks common in established neighborhoods can slow staging and material handling |
| Color and finish | Factory ColorPlus finishes cost more upfront than primed material but eliminate the need for field painting |
What to Ask Before Hiring Anyone
- Are you a certified James Hardie installer, and can you explain how you handle flashing and moisture barriers, not just panel installation?
- Will you inspect the sheathing before installing, and what happens if you find rot or damage?
- What's your fastener spec, and does it match the manufacturer's published requirements for this product and exposure?
- Can you walk me through drainage and clearance details at grade, decks, and roof lines?
- What does the warranty actually cover, and is it transferable if I sell the home?
Why Local Experience in Silver Beach Matters
A crew that regularly works in and around Silver Beach and greater Chuckanut already understands what this specific stretch of Whatcom County does to exterior siding — the shaded, moss-prone lots, the driving rain patterns off the water, the corrosion pressure from marine air. That's not something you can fully learn from a manufacturer's install manual; it comes from doing the work here, seeing which details actually matter on these homes, and adjusting for them. A crew unfamiliar with the area is more likely to install to a generic spec that works fine in a drier climate and underperforms here.
If your Silver Beach home's siding is showing its age, or you're planning ahead rather than reacting to a problem, we're happy to take a look and give you a straightforward, no-pressure estimate — no inflated scare tactics, just an honest assessment of what the house needs.