 Chuckanut Exterior
 New-Construction Windows Built for Columbia's Coastal Climate
Building a new home in Columbia means dealing with a stretch of Whatcom County weather that doesn't forgive shortcuts. Salt-laden air drifting off the water, driving rain that hits window walls sideways for days at a stretch, and a long, damp moss season that keeps everything shaded and wet longer than most window products are designed for. When windows go in during new construction, you get exactly one chance to do the flashing, the sequencing, and the material selection correctly — before siding, trim, and interior finishes cover up the evidence. We install new-construction windows for builders and homeowners in and around Columbia, and this page is about what that job actually requires here, not in a dry inland subdivision.
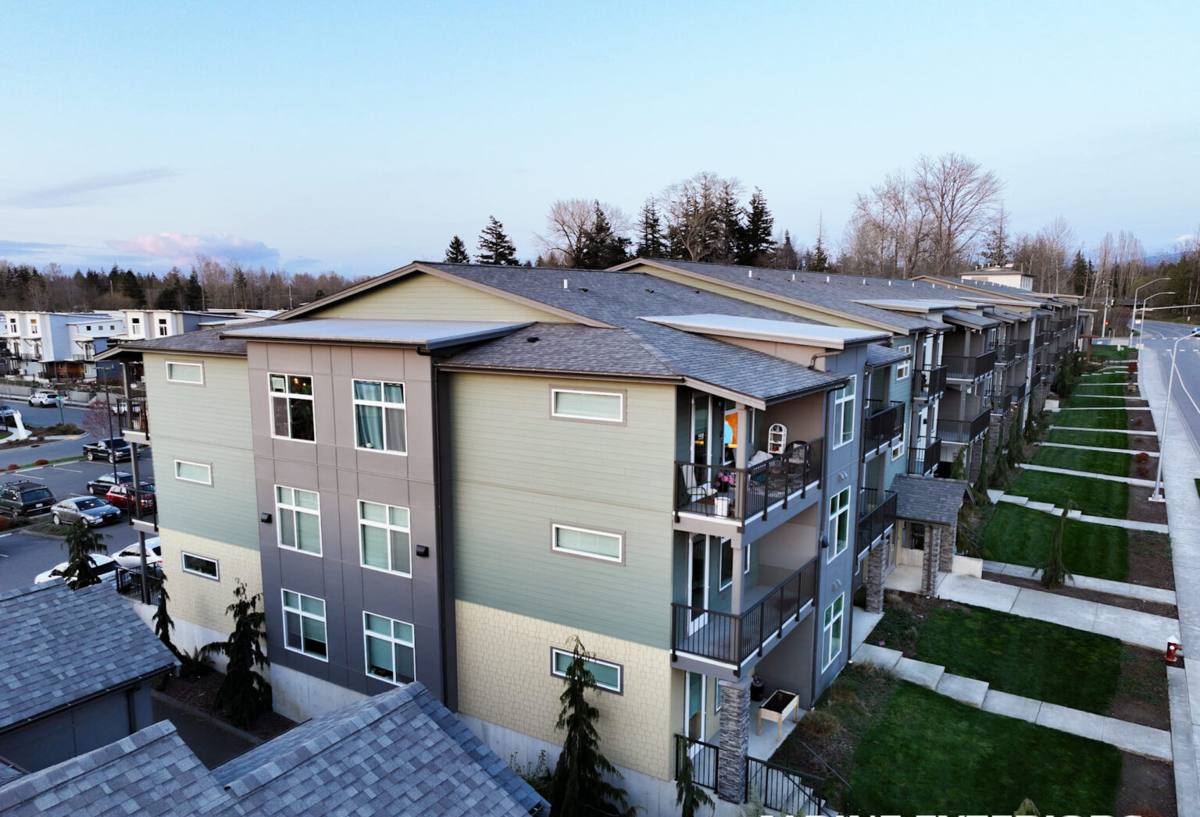
What Columbia's Weather Actually Demands From a Window
New-construction windows aren't just glass and frame — they're part of the building envelope, and in this area the envelope gets tested constantly.
Salt Air and Corrosion
Homes closer to the water deal with airborne salt that accelerates corrosion on hardware, fasteners, and certain metal components. Over years, cheap or mismatched hardware can pit, seize, or stain long before the window itself fails. This matters more at the rough-in stage than most people realize, because the fasteners and flashing tape you bury behind the trim are the ones you can't easily inspect or replace later.
Driving Rain
Wind-driven rain doesn't just fall on a window — it gets pushed sideways and upward into any gap in the flashing or sealant. New-construction framing gives you the chance to build a proper drainage plane (weather-resistive barrier, flashing tape, sill pan, head flashing) in the right order, something that's much harder to correct on an existing home without removing siding.
Moss and Prolonged Moisture
Shaded lots and tree cover common around Columbia keep siding and trim wet longer after every storm. That extra moisture dwell time is exactly what moss, mildew, and slow wood rot need to get started around window openings — especially at sills and corners where water naturally collects. Good drainage detailing at install time is the difference between a window opening that stays dry and one that quietly rots trim for years before anyone notices.
Getting the Sequence Right the First Time
On a new build, windows go in at a specific point in the schedule — after the weather-resistive barrier is up, before siding closes everything in. Getting that sequence wrong is the single biggest cause of window-related water problems in new construction, and it's almost always avoidable.
- Sill pan flashing installed and sloped to drain outward, not just caulked
- Weather-resistive barrier lapped correctly — upper layers over lower layers, always shingle-style
- Window flanges taped or flashed so water sheds over the barrier below, never behind it
- Head flashing installed last, integrated with the barrier above it
- Rough opening sized and shimmed so the window isn't racked or bowed once fastened
- Fasteners and hardware rated for coastal/marine exposure, not standard interior-grade hardware
Skipping or reordering any one of these steps can look fine on install day and still cause a leak two winters later — which is why we treat this sequence as non-negotiable, not a checklist to speed through when a build schedule gets tight.
Choosing Window Materials for This Climate
New construction is the best time to choose materials that match the exposure your lot actually gets — full water view, partially shaded, or set back from the coast. There's no single "best" window for every lot; the right call depends on sun exposure, wind exposure, and how much upkeep you want to take on.
| Frame Material | Coastal/Salt Air Performance | Maintenance | Typical Fit |
|---|---|---|---|
| Vinyl | Good — won't corrode or rust; UV-stable finishes hold up well | Low | Budget-conscious builds, most exposures |
| Fiberglass | Very good — dimensionally stable in temperature swings, resists moisture-driven warping | Low | Higher-wind or higher-exposure lots |
| Aluminum-clad wood | Good exterior protection if cladding and flashing details are done correctly | Moderate | Architectural or high-end builds wanting a wood interior look |
| Bare wood | Requires the most diligence in this climate — finish maintenance is constant | High | Not our default recommendation for exposed coastal sites |
We're upfront with builders and homeowners about trade-offs rather than pushing one product line. Bare wood, for example, can look great, but in a climate with this much sustained moisture and salt exposure, it demands a maintenance schedule most owners underestimate — so we make sure that trade-off is understood before it's specified into the plans.
Glass and Glazing Packages
For Columbia's exposure, we generally steer new builds toward double- or triple-pane units with low-E coatings and argon or krypton gas fill, and we pay close attention to U-factor and solar heat gain coefficient relative to each elevation's sun exposure. A window facing prevailing weather off the water often benefits from a different glazing spec than one tucked on a sheltered elevation — this is decided per-elevation, not as one blanket spec for the whole house.
Our New-Construction Window Process
- Plan review: we review window schedules and rough opening sizes against the actual framing before the windows are ordered, catching mismatches early.
- Material and glazing selection: matched to each elevation's exposure, not a single spec applied everywhere.
- Coordination with the builder: we work around the framing and weather-barrier schedule so windows go in at the right point, not whenever there's a gap in the trades.
- Installation: sill pan, barrier integration, flashing, shimming, and fastening done in the correct order, with photos taken before anything gets covered by siding or trim.
- Inspection-ready documentation: so the flashing and sequencing can be verified without opening the wall back up.
- Final check: operation, weatherstripping seal, and hardware function confirmed before the crew leaves the site.
Mistakes We See on New Builds — and How We Avoid Them
Most new-construction window problems trace back to schedule pressure, not bad products. Common issues we watch for:
- Windows set before the weather-resistive barrier is properly lapped, forcing water behind the barrier instead of over it
- Sill pans skipped or improvised with just caulk, which fails long before flashing does
- Rough openings that are slightly out of square, leaving windows racked and hard to operate
- Standard-grade fasteners used on a site with real salt exposure
- Flashing tape applied over dust, sawdust, or damp framing, which prevents proper adhesion
None of these are exotic failures — they're ordinary shortcuts that are easy to take when a build is behind schedule, and they're exactly why we treat window install as its own scheduled trade, not a task squeezed into someone else's timeline.
What Drives Cost on a New-Construction Window Package
| Factor | Why It Matters Here |
|---|---|
| Frame material | Vinyl is typically the most economical; fiberglass and clad-wood cost more but suit higher-exposure lots |
| Glazing package | Triple-pane and elevation-specific low-E coatings add cost but reduce condensation and drafts in wet, windy weather |
| Number and size of openings | Larger view windows facing the water often need heavier framing and reinforced anchoring |
| Site access and staging | Sloped or wooded Columbia lots can affect crane/lift access and material staging, which affects labor time |
| Flashing and drainage detailing | Correct sill pans and integrated barrier work take more install time than a caulk-and-hope approach, but they're what prevents callbacks |
We give straightforward, itemized estimates so you can see where the cost is going, rather than a single lump number that hides which decisions actually move the price.
A Pre-Drywall Checklist Worth Asking For
Whether we're your installer or you're vetting someone else, this is what should be true before siding and drywall close everything in:
- Sill pan flashing is visible and properly sloped, not just caulked
- Weather-resistive barrier laps correctly over the top flange of the window
- No visible gaps, wrinkles, or dust contamination in the flashing tape
- Rough opening shims confirm the window is plumb, level, and square
- Fastener type matches the exposure (coastal-rated where applicable)
- Photos of the flashing exist before it's covered — ask for these, they're your only record later
Why Hire a Crew That Already Works in Columbia
Correct window installation isn't complicated in theory, but it's easy to get subtly wrong in a way that only shows up after a few winters of Whatcom County weather. A crew that already works new construction around Columbia has seen how this specific stretch of coastline behaves — which elevations take the worst driving rain, which lots hold moisture longest under tree cover, and which hardware actually holds up to salt air rather than just being rated for it on paper. That local pattern recognition is worth more than any brand name on the window itself.
If you're framing a new build in Columbia or planning one, we're happy to walk the plans with you or your builder and give a straightforward, no-pressure estimate — reach out through the form below.