 Chuckanut Exterior
 Why Siding Along Chuckanut Takes a Different Kind of Beating
Homes in the Blanchard area sit in one of the more demanding microclimates in Whatcom County. You've got salt-laden air coming off the water, driving rain that hits gable ends and window trim at an angle instead of straight down, and a moss season that can stretch from early fall through late spring. None of that is unusual on its own. What's unusual is how much of it a single wall assembly has to deal with at the same time, year after year.
Salt air is corrosive to exposed fasteners and metal flashing long before most homeowners notice anything wrong with the siding itself. Driving rain finds its way into laps, joints, and trim seams that would stay dry in a calmer climate. And moss doesn't just look bad — it holds water against the surface of the siding for days after a storm has passed, which is exactly the kind of prolonged moisture exposure that breaks down poorly installed or poorly maintained siding from the outside in.
When we get a repair call from a homeowner near Blanchard, we're rarely looking at random, unrelated damage. It's almost always a pattern tied to one or two of these conditions, concentrated on the sides of the house that take the worst of the wind-driven rain or stay shaded and damp the longest.
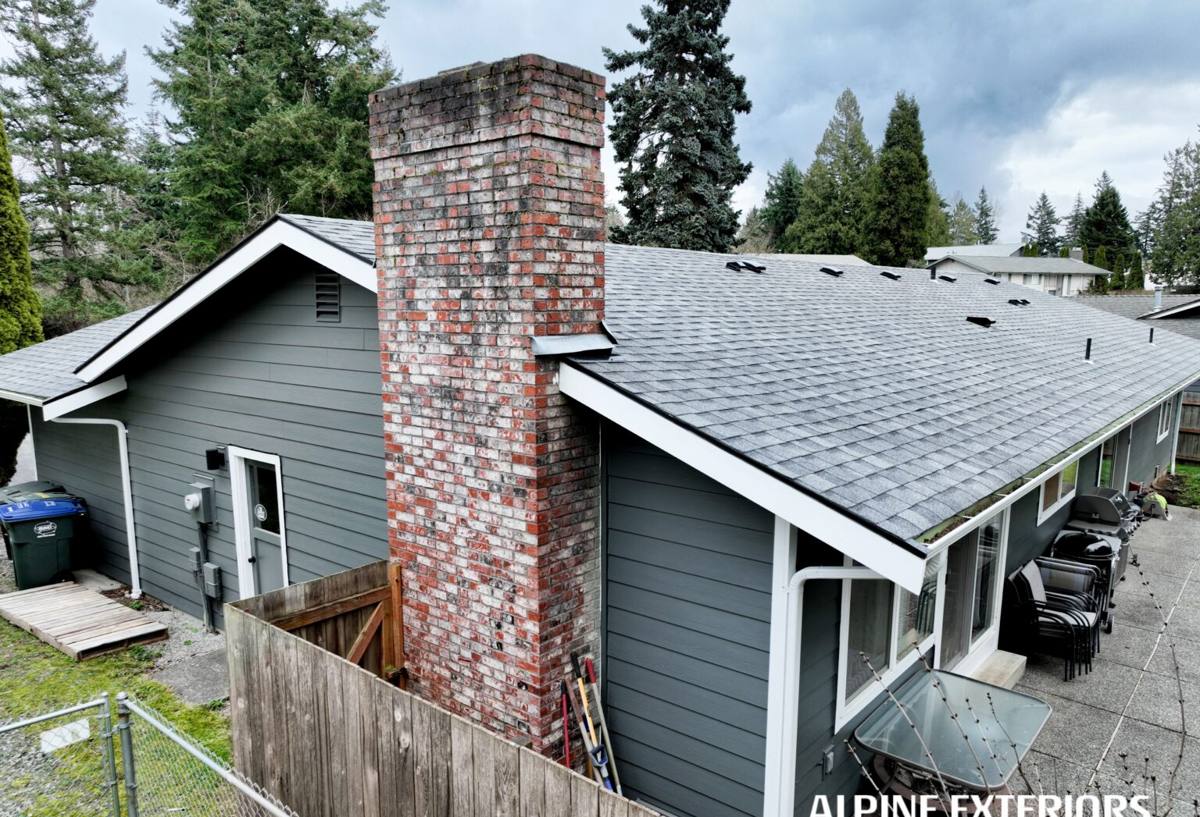
What "Siding Repair" Should Actually Mean
A lot of siding repair in this region gets done wrong, not because the crew is careless, but because they treat it as a cosmetic fix instead of a moisture-management problem. Caulking over a crack, screwing a loose board back down, or slapping a patch over a soft spot might make the wall look fine for a season. It doesn't tell you why that spot failed, and it doesn't stop the same failure from spreading behind the siding where you can't see it.
A correct repair starts with figuring out how water got in — a failed joint, missing or corroded flashing, a gap where trim meets siding, or a fastener that backed out and left an open path. Only after that question is answered does it make sense to talk about what board, panel, or section needs to come off and be replaced.
The Difference Between a Patch and a Repair
A patch covers the symptom. A repair addresses the water path, replaces anything that's already absorbed moisture or begun to rot, and reinstalls the new material so the same failure doesn't happen again in the same spot. On older homes around Blanchard, we sometimes find that a "repair" done years ago was really just a patch — and the rot underneath had kept spreading the entire time.
Where Damage Shows Up First in This Area
After years of working on homes in this corridor, we tend to check the same handful of areas first, because they're where salt air, wind-driven rain, and moss retention do the most damage.
Butt Joints and Panel Seams
Horizontal seams where one piece of siding meets the next are a common entry point if they weren't caulked, flashed, or gapped correctly at installation. Wind-driven rain pushes water sideways into these joints in a way that straight-down rain never would.
Corner Trim and Window Trim
Outside corners and window casings take the brunt of driving rain and are frequently where we find soft or delaminating material first, especially on walls facing the prevailing weather.
The Water Table and Bottom Course
The lowest run of siding sits closest to splash-back from grade, gutters, and downspouts, and it's often shaded and slow to dry — prime conditions for moss and prolonged dampness.
Around Penetrations
Hose bibs, vents, light fixtures, and anywhere siding was cut and fitted around something are common weak points if the flashing or sealant wasn't done to spec the first time.
Repair or Replace? How We Make the Call
Not every damaged section needs to come off the whole wall, and not every repair should be limited to just the visibly bad board. We look at how far moisture has actually traveled, not just where it's visible from the outside, before recommending a scope.
| Situation | Typical Approach | Why |
|---|---|---|
| Isolated cracked or damaged board, sheathing dry behind it | Spot repair — remove and replace affected boards only | Damage hasn't spread; matching new material to existing finish is straightforward |
| Soft or rotted siding at a corner, joint, or penetration | Section repair — remove siding and trim in that zone, inspect and repair sheathing/framing, reinstall correctly flashed | Water has likely traveled beyond the visible spot; flashing detail needs correcting, not just covering |
| Widespread moss, staining, or soft spots across one elevation | Full elevation replacement | Patch-matching won't look right or perform well when failure is systemic rather than isolated |
| Aging non-Hardie siding (vinyl, LP, cedar) needing frequent repair | Discuss full replacement with James Hardie fiber cement | Repeated patching on a product nearing the end of its service life rarely pencils out long-term |
We'd rather tell you honestly that a small patch will hold for years than sell you a bigger scope than you need — and just as importantly, we'll tell you when a "quick fix" isn't going to hold given what we find once the siding comes off.
Our Repair Process, Step by Step
1. Inspection First, Quote Second
We walk the exterior, check the areas most exposed to wind-driven rain and shade, and where we suspect moisture has gotten past the surface, we probe the material to check for softness before we ever write up a scope of work.
2. Confirm the Water Path
Before replacing anything, we identify how water got behind the siding in the first place — a missing flashing detail, a failed joint, an open fastener hole — so the repair actually corrects the cause.
3. Remove Only What's Compromised — But No Less
We take off what's damaged plus enough surrounding material to confirm the sheathing and framing behind it are sound, or to repair them if they aren't.
4. Rebuild the Water Management Detail
Flashing, house wrap, and joint treatment get corrected as part of the repair, not just reinstalled as they were — since "as they were" is usually what let the water in.
5. Match and Finish
New material is fitted, fastened to spec, and finished to match the surrounding siding as closely as the product allows, which we'll explain honestly up front since factory-finished material has real limits on field color matching.
Why We Repair and Rebuild With James Hardie Fiber Cement
We install and repair with James Hardie fiber cement exclusively — we don't install vinyl, LP SmartSide, Cemplank, Allura, or unfinished wood siding, and when it comes to repairs, that standard doesn't change. If your home already has one of those other products and the damage is limited, we'll do a like-for-like patch honestly and tell you what to expect. But when the scope grows toward a full section or elevation, we recommend and quote James Hardie rather than continuing to chase repairs on a product we don't consider our standard.
Fiber cement doesn't warp, delaminate, or absorb water the way wood-based products can, and it's non-combustible — a real consideration in this region's dry summer wildfire seasons. Hardie's ColorPlus factory finish is baked on under controlled conditions, which holds up to salt air and UV exposure better than field-applied paint over the long run, and it comes with a meaningfully stronger warranty structure than most alternatives. The HZ5 product line in particular is engineered for climates with exactly this mix of moisture exposure and temperature swing.
None of that means other products are junk — vinyl is inexpensive and low-maintenance in mild climates, LP SmartSide has its fans, and cedar has real curb appeal. But given what we see fail first in this specific climate — moisture at joints, corrosion at fasteners, moss-driven surface breakdown — fiber cement done right holds up longer with less repeat repair, and that's what we're willing to put our name behind.
Signs Your Siding Needs Attention Now
- Soft or spongy spots when you press on the siding, especially near the bottom course or corners
- Visible moss or dark green-black staining that keeps returning after cleaning
- Cracked, buckled, or separated boards, particularly at horizontal seams
- Peeling or bubbling paint/finish in one concentrated area rather than uniformly across the house
- Water stains or soft drywall on interior walls that back up to exterior siding
- Visible gaps at corner trim, window trim, or around penetrations like vents and hose bibs
- Fastener heads that have backed out, rusted, or left visible streaking down the siding
Any one of these on its own might be minor. Two or more in the same area, especially heading into the wet months, is worth getting looked at before winter does more work on it.
Why a Crew That Already Works This Area Matters
Siding repair isn't just carpentry — it's making a judgment call about how far water has traveled behind a wall you can't fully see into until you open it up. A crew that already works the Chuckanut and Blanchard corridor has a working sense of which elevations take the worst of the wind-driven rain, how long moss tends to sit on north-facing walls before it's noticed, and what kind of flashing details actually hold up to this area's weather versus what merely passes inspection elsewhere.
That local pattern-recognition shows up in small but meaningful ways: knowing to check a corner that looks fine from the ground, or recognizing that a stain pattern points to a flashing problem two feet away from where the damage is visible. It's the difference between a repair that solves the problem and one that just moves the timeline out a season or two.
If you're seeing signs of trouble on a Blanchard-area home, we're happy to take a look and give you a straight answer — spot repair, section repair, or something bigger — with no pressure either way. Reach out for a free estimate using the form below.