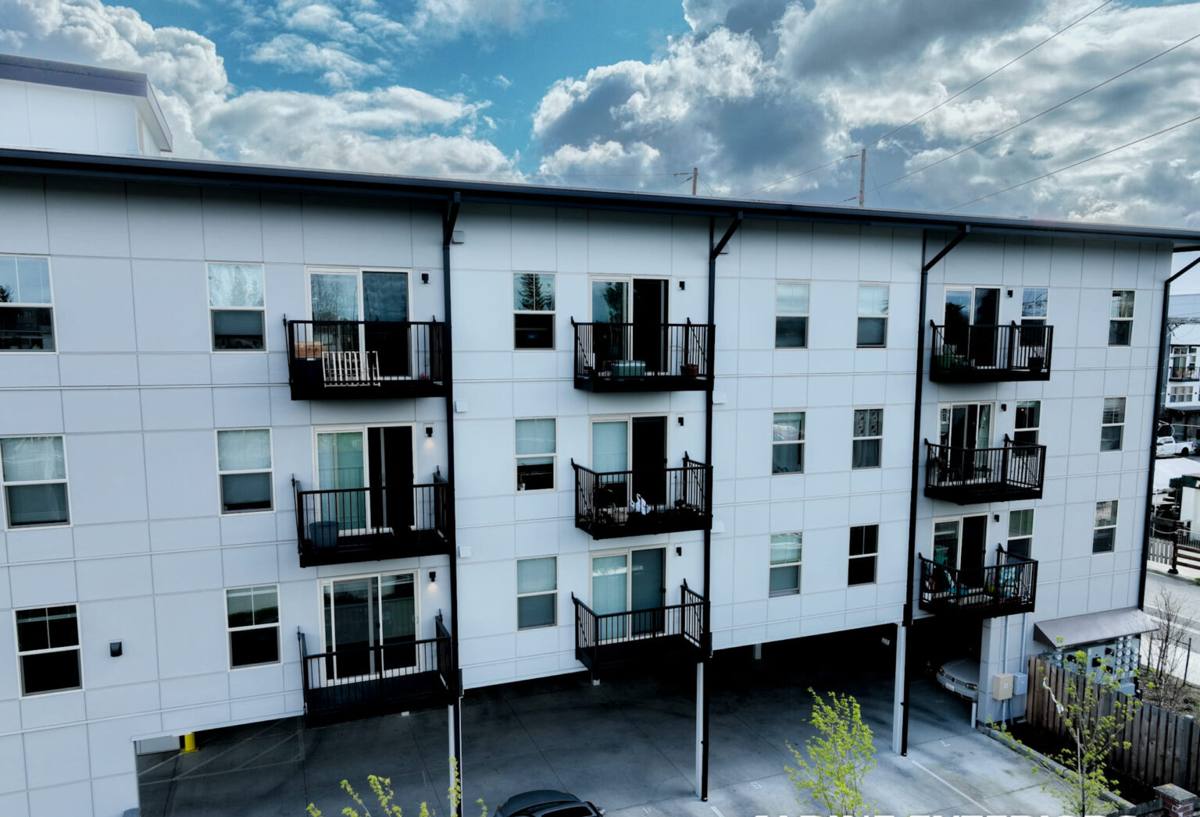
 Chuckanut Exterior
 Building New in Sedro-Woolley? The Windows Are Where New Homes Go Wrong
New-construction window installation looks straightforward on paper: set the unit in the rough opening, fasten the nail fin, move on to siding. In practice, it's one of the few steps in a new build where a small shortcut doesn't show up for two or three years — and by then it's hidden behind drywall, trim, and siding. For homes going up in and around Sedro-Woolley, that gap between "looks fine at final walkthrough" and "is actually sealed correctly" matters more than in drier climates, because this part of Whatcom County gets sustained, wind-driven rain for months at a stretch, plus a long stretch of the year where moss and mildew have every incentive to take hold on anything that stays damp.
We install new-construction windows as part of new builds and additions in the Sedro-Woolley area, working directly with builders, framers, and homeowners acting as their own general contractor. This page covers what a correct install actually involves, what local conditions demand from the work, and how our process is built around getting it right the first time — because on a new-construction job, there usually isn't a second chance without tearing into finished walls.
What Sedro-Woolley's Climate Asks of a New Window Install
Whatcom County sits in a stretch of the Pacific Northwest where weather comes off the water and off the mountains at the same time. That combination shows up in three ways that matter directly for window installation:
- Driving rain, not just rain. Wind pushes water sideways into wall assemblies, not just straight down. A flashing detail that would hold up fine in a calm climate can fail here because water gets forced up and under laps that were never designed to take pressure from that angle.
- Long wet seasons with limited drying time. Any moisture that does get behind a window opening doesn't get much chance to dry out before the next system rolls through. Materials and details that rely on periodic drying to survive minor mistakes don't get that grace period here.
- Salt air influence. Proximity to the Salish Sea means airborne salt is part of the environment for homes throughout this part of Whatcom County. Salt accelerates corrosion on fasteners, hardware, and some metal flashing products faster than it would inland — which affects material choices, not just technique.
None of this means new-construction windows in Sedro-Woolley need to be exotic. It means the ordinary steps — flashing sequence, sealant selection, fastener choice — need to be done with this specific climate in mind rather than treated as generic.
New-Construction vs. Replacement: A Different Job Entirely
It's worth being clear about what "new-construction" installation actually means, because it's a different job from replacing an existing window in a finished wall.
In a new build, the window goes into a rough opening in an unfinished wall, before siding and often before interior drywall. The window itself typically has a nailing fin (also called a nail flange) around the perimeter that gets fastened directly to the sheathing, then integrated into the home's water-resistive barrier (house wrap) and flashing system. Because the wall isn't finished yet, we have full access to do the flashing correctly in the right sequence — which is the single biggest advantage new-construction installs have over replacement work, and the reason getting it right matters so much: there's no excuse for a bad seal when everything is open and accessible.
Replacement work, by contrast, often has to work around existing siding and trim, sometimes without disturbing finished exterior finishes at all. That's a different skill set with its own tradeoffs. This page is specifically about the new-construction side of the work.
Where New-Construction Installs Happen in the Build Schedule
Windows go in after the home is framed and sheathed, and after — or sometimes concurrent with — the house wrap or weather-resistive barrier is applied. They need to be in before siding starts, since siding laps over the flashing at the window's edges. This puts window installation in a tight window (no pun intended) in the build schedule, and it's a stage where coordination with the framer and siding crew matters. We work directly with builders' schedules on new-construction jobs and can also work with homeowner-GCs who are managing subcontractors themselves.
What a Correct Installation Actually Involves
A proper new-construction window install follows a specific sequence. Skipping or reordering these steps is where most long-term leaks originate — not from a bad window, but from a compromised opening.
1. Rough Opening Prep and Inspection
Before a window ever goes in, the rough opening gets checked for square, level, and correct dimensions. Sheathing gaps, damaged framing members, or an opening cut too large or too small all get addressed here. This is also where the sill pan goes in — a sloped, waterproof pan at the bottom of the opening that gives any water that does get past the window a way out instead of a place to collect.
2. Flashing the Opening — In the Right Order
Flashing tape and house wrap have to be integrated in a specific shingle-lap sequence: sill first, then jambs (sides), then head (top) — each layer overlapping the one below it, the same way roof shingles overlap so water is always directed outward and down, never funneled behind the layer beneath it. On a driving-rain climate like this one, we don't treat this step as optional or "close enough" — it's the difference between a window that sheds wind-driven water and one that slowly feeds it into the wall cavity.
3. Setting and Fastening the Window
The window gets set into the opening, shimmed level and plumb, and fastened through the nailing fin per the manufacturer's schedule. Over- or under-shimming causes frames to bow, which affects how sashes operate for the life of the window — this is a common source of windows that "stick" or won't latch properly within a year or two of a rushed install.
4. Sealing and Backer Rod
Interior and exterior sealant joints get backer rod where appropriate and the correct sealant type for the substrate — not just whatever caulk is on the truck. Sealant that isn't compatible with the window frame material or the house wrap can fail early, especially with the UV exposure and temperature swings this region sees seasonally.
5. Siding Integration
Once flashing and sealing are done, the window is ready for siding to lap correctly over the flashing at the head and sides. We coordinate this handoff so nothing gets covered before it's inspected.
Choosing the Right Window for a Sedro-Woolley Build
Frame material and glass package both matter here, and the right choice depends on budget, style, and how exposed the elevation is to weather.
| Frame Material | How It Handles Local Conditions | Tradeoffs |
|---|---|---|
| Vinyl | Good moisture resistance, no corrosion risk from salt air, low maintenance | Lower-end lines can look plasticky; limited color options on budget tiers |
| Fiberglass | Very stable in temperature swings, strong moisture and corrosion resistance, holds paint well | Higher upfront cost than vinyl |
| Wood-clad (exterior clad, interior wood) | Warm interior appearance, exterior cladding protects from weather if detailed correctly | Cladding seams are a moisture-entry point if not installed and maintained carefully; higher cost |
| Aluminum | Strong and slim sightlines | Conducts cold and is more prone to condensation in this climate without thermal breaks; more susceptible to corrosion near salt air without proper coatings |
For most new-construction jobs in this area, we steer homeowners toward vinyl or fiberglass for standard elevations, reserving wood-clad for specific design goals where the homeowner understands and accepts the added maintenance. We're not going to tell you a product is bad if it's not right for the situation — the point is matching frame material to the exposure and upkeep a homeowner actually wants to take on.
Glass Packages and Energy Performance
For this climate, we generally recommend double-pane, low-E glass with argon fill as the baseline, with attention to the whole-unit U-factor rather than just the glass center-of-glass rating — the U-factor on the National Fenestration Rating Council (NFRC) label accounts for the frame and edge-of-glass performance too, which matters more on smaller windows where frame makes up more of the total area. Solar Heat Gain Coefficient (SHGC) matters less here than in sunnier climates, but orientation still plays a role — south and west-facing rooms benefit from a lower SHGC to manage summer heat gain.
What Local Experience Actually Changes
A window is a window regardless of who installs it, but the judgment calls around it aren't generic. A crew that works this area regularly has already seen:
- Which elevations on a given lot take the worst of the wind-driven rain based on how the property sits relative to prevailing weather
- How much clearance to leave for siding and trim expansion given seasonal humidity swings
- Where moss and algae growth tends to concentrate on north-facing and shaded walls, and how that affects sealant and trim material choices
- Fastener and flashing metal choices that hold up under salt air exposure versus ones that start showing corrosion within a few years
- Local building department expectations for window flashing and moisture barrier inspections
None of that is exotic knowledge, but it's the kind of thing that only comes from doing this work in this specific area repeatedly, rather than installing windows the same way regardless of where the job is.
Our Process on New-Construction Jobs
- Plan review and takeoff. We review window schedules from the builder or architect, confirm sizes, egress requirements for bedrooms, and any specialty units before ordering.
- Coordination with the build schedule. We work with the framer's and sider's timelines so windows go in at the right point — not too early, not holding up siding.
- Rough opening walkthrough. We check every opening before setting windows, flagging framing issues to the builder before they become installation problems.
- Installation per manufacturer specification, adapted for local exposure. Flashing, sealing, and fastening follow both the manufacturer's requirements and our own standards for wind-driven rain and salt air conditions.
- Documentation. We note what was installed and how, which is useful for warranty claims and for the homeowner's records.
- Handoff to siding. We confirm flashing is ready for siding integration before that crew starts.
What to Confirm Before Any Crew Starts on Your Windows
Whether you use us or someone else, these are the things worth checking before a new-construction window crew starts work on a Whatcom County build:
- Do they use sill pan flashing on every opening, not just openings where they think it's needed?
- Can they explain their flashing lap sequence without hesitation?
- Do they adjust sealant products based on substrate and exposure, or use one caulk for everything?
- Are they coordinating directly with your framer and siding crew, or working in isolation?
- Do they document the install for warranty purposes?
- Are they familiar with local building department inspection expectations for moisture barriers?
Cost Factors on New-Construction Window Jobs
New-construction window pricing depends on more than the window units themselves. Broad factors that move the number:
| Factor | Why It Matters |
|---|---|
| Frame material and glass package | Vinyl runs lower than fiberglass or wood-clad; upgraded glass packages add cost per unit |
| Number and size of openings | Larger and more numerous openings mean more flashing, labor, and material |
| Specialty shapes or egress-only units | Custom shapes and bedroom egress windows often cost more than standard rectangular units |
| Elevation exposure | Openings on the weather side of the house may warrant extra flashing detail or higher-grade sealant |
| Access and site conditions | Scaffolding or lift access for upper-story openings adds labor time |
| Timeline coordination | Tight build schedules requiring expedited ordering can affect cost versus standard lead times |
We'll walk through these factors specific to your plans during an estimate rather than quoting a number without seeing the window schedule — new-construction pricing genuinely varies too much by project to give a meaningful ballpark without that information.
Working With Builders and Owner-Builders
We install for general contractors on spec and custom builds, and we also work directly with homeowners who are managing their own new-construction project without a GC. In either case, the coordination requirements are the same: we need the framing complete and inspected, the water-resistive barrier either installed or ready for us to integrate with, and a clear sense of the siding timeline so the handoff is clean. If you're an owner-builder and this is your first time coordinating subcontractors on a build schedule, we're glad to walk through what we need from the framing and siding sides so nothing holds up your timeline.
If you're planning new-construction windows for a build in the Sedro-Woolley area, we're happy to look at your window schedule and plans and put together a free, no-pressure estimate — just fill out the form below and we'll follow up.